This will guide you through the process of gluing the LED lanterns on the main base of the Jungle Cruise sign.
There is now a more helpful video of a full build of the Jungle Cruise sign that includes the assembly and installation of these lanterns.
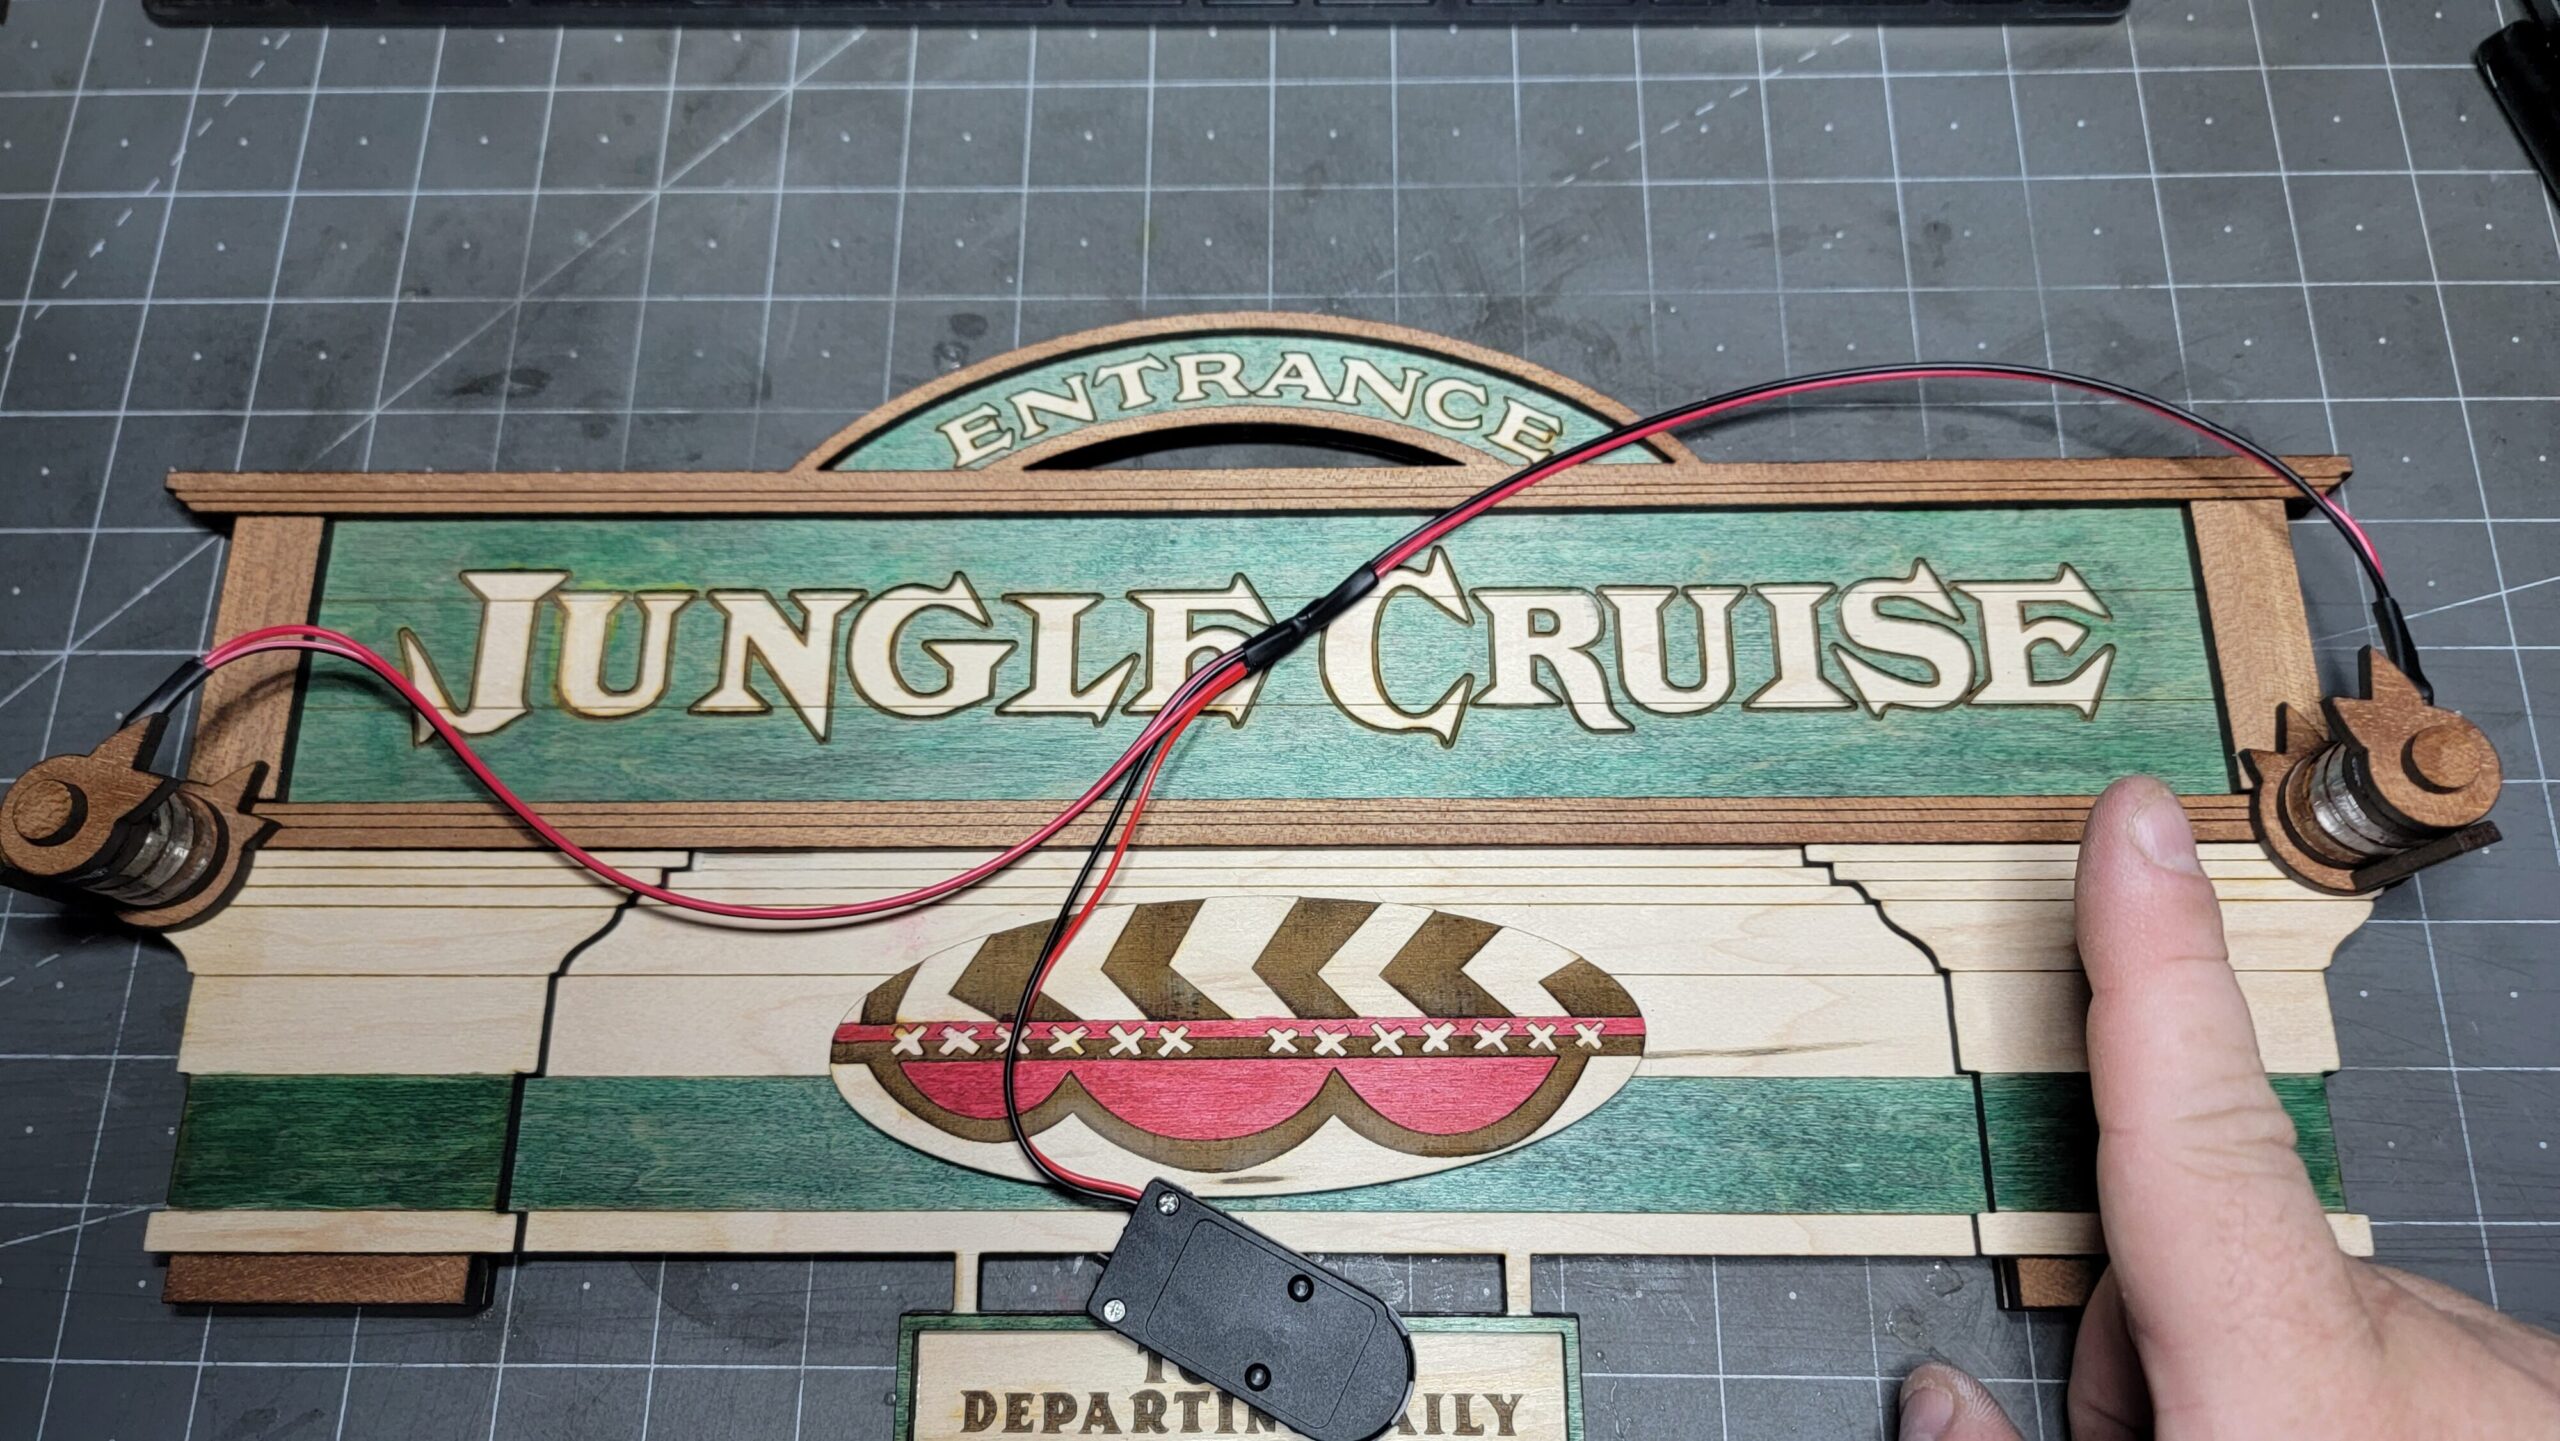
Align the lanterns with the sign so that the “L” brackets on the lanterns are facing as shown in the photo above.
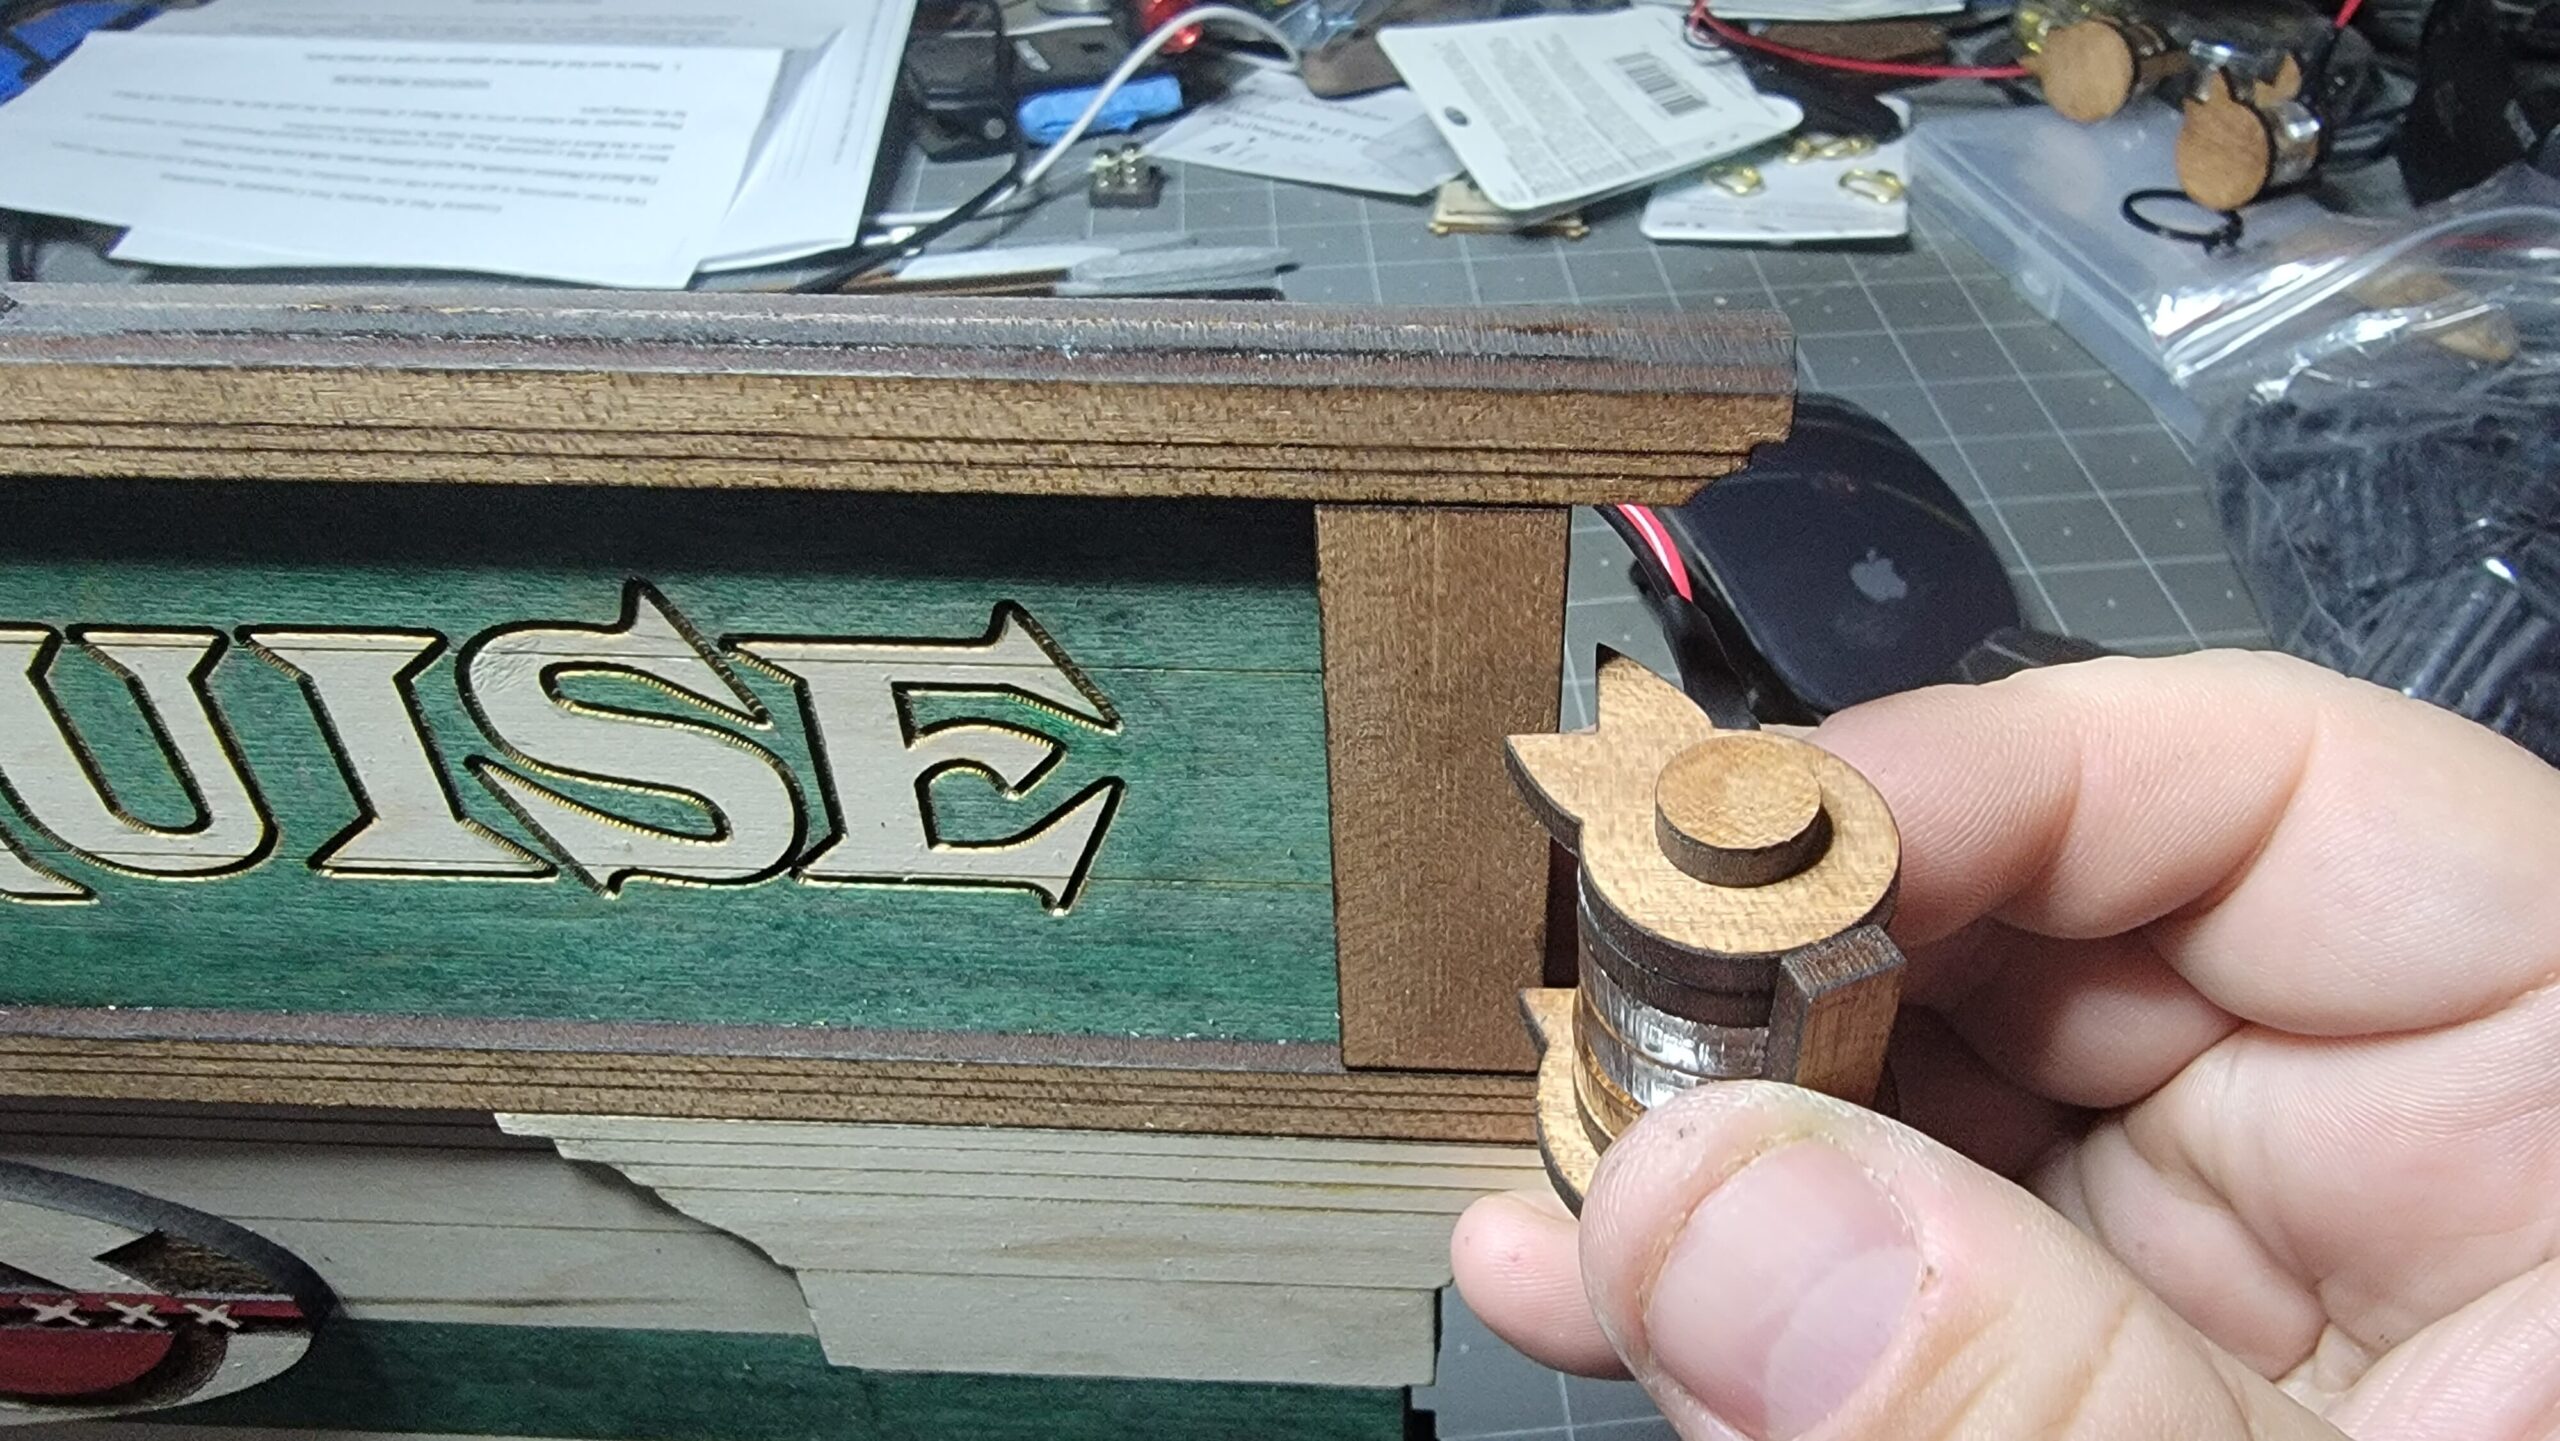
The lanterns have opposite/mirrored edges where the longer part of the “L” brackets face the inside of each side of the sign.
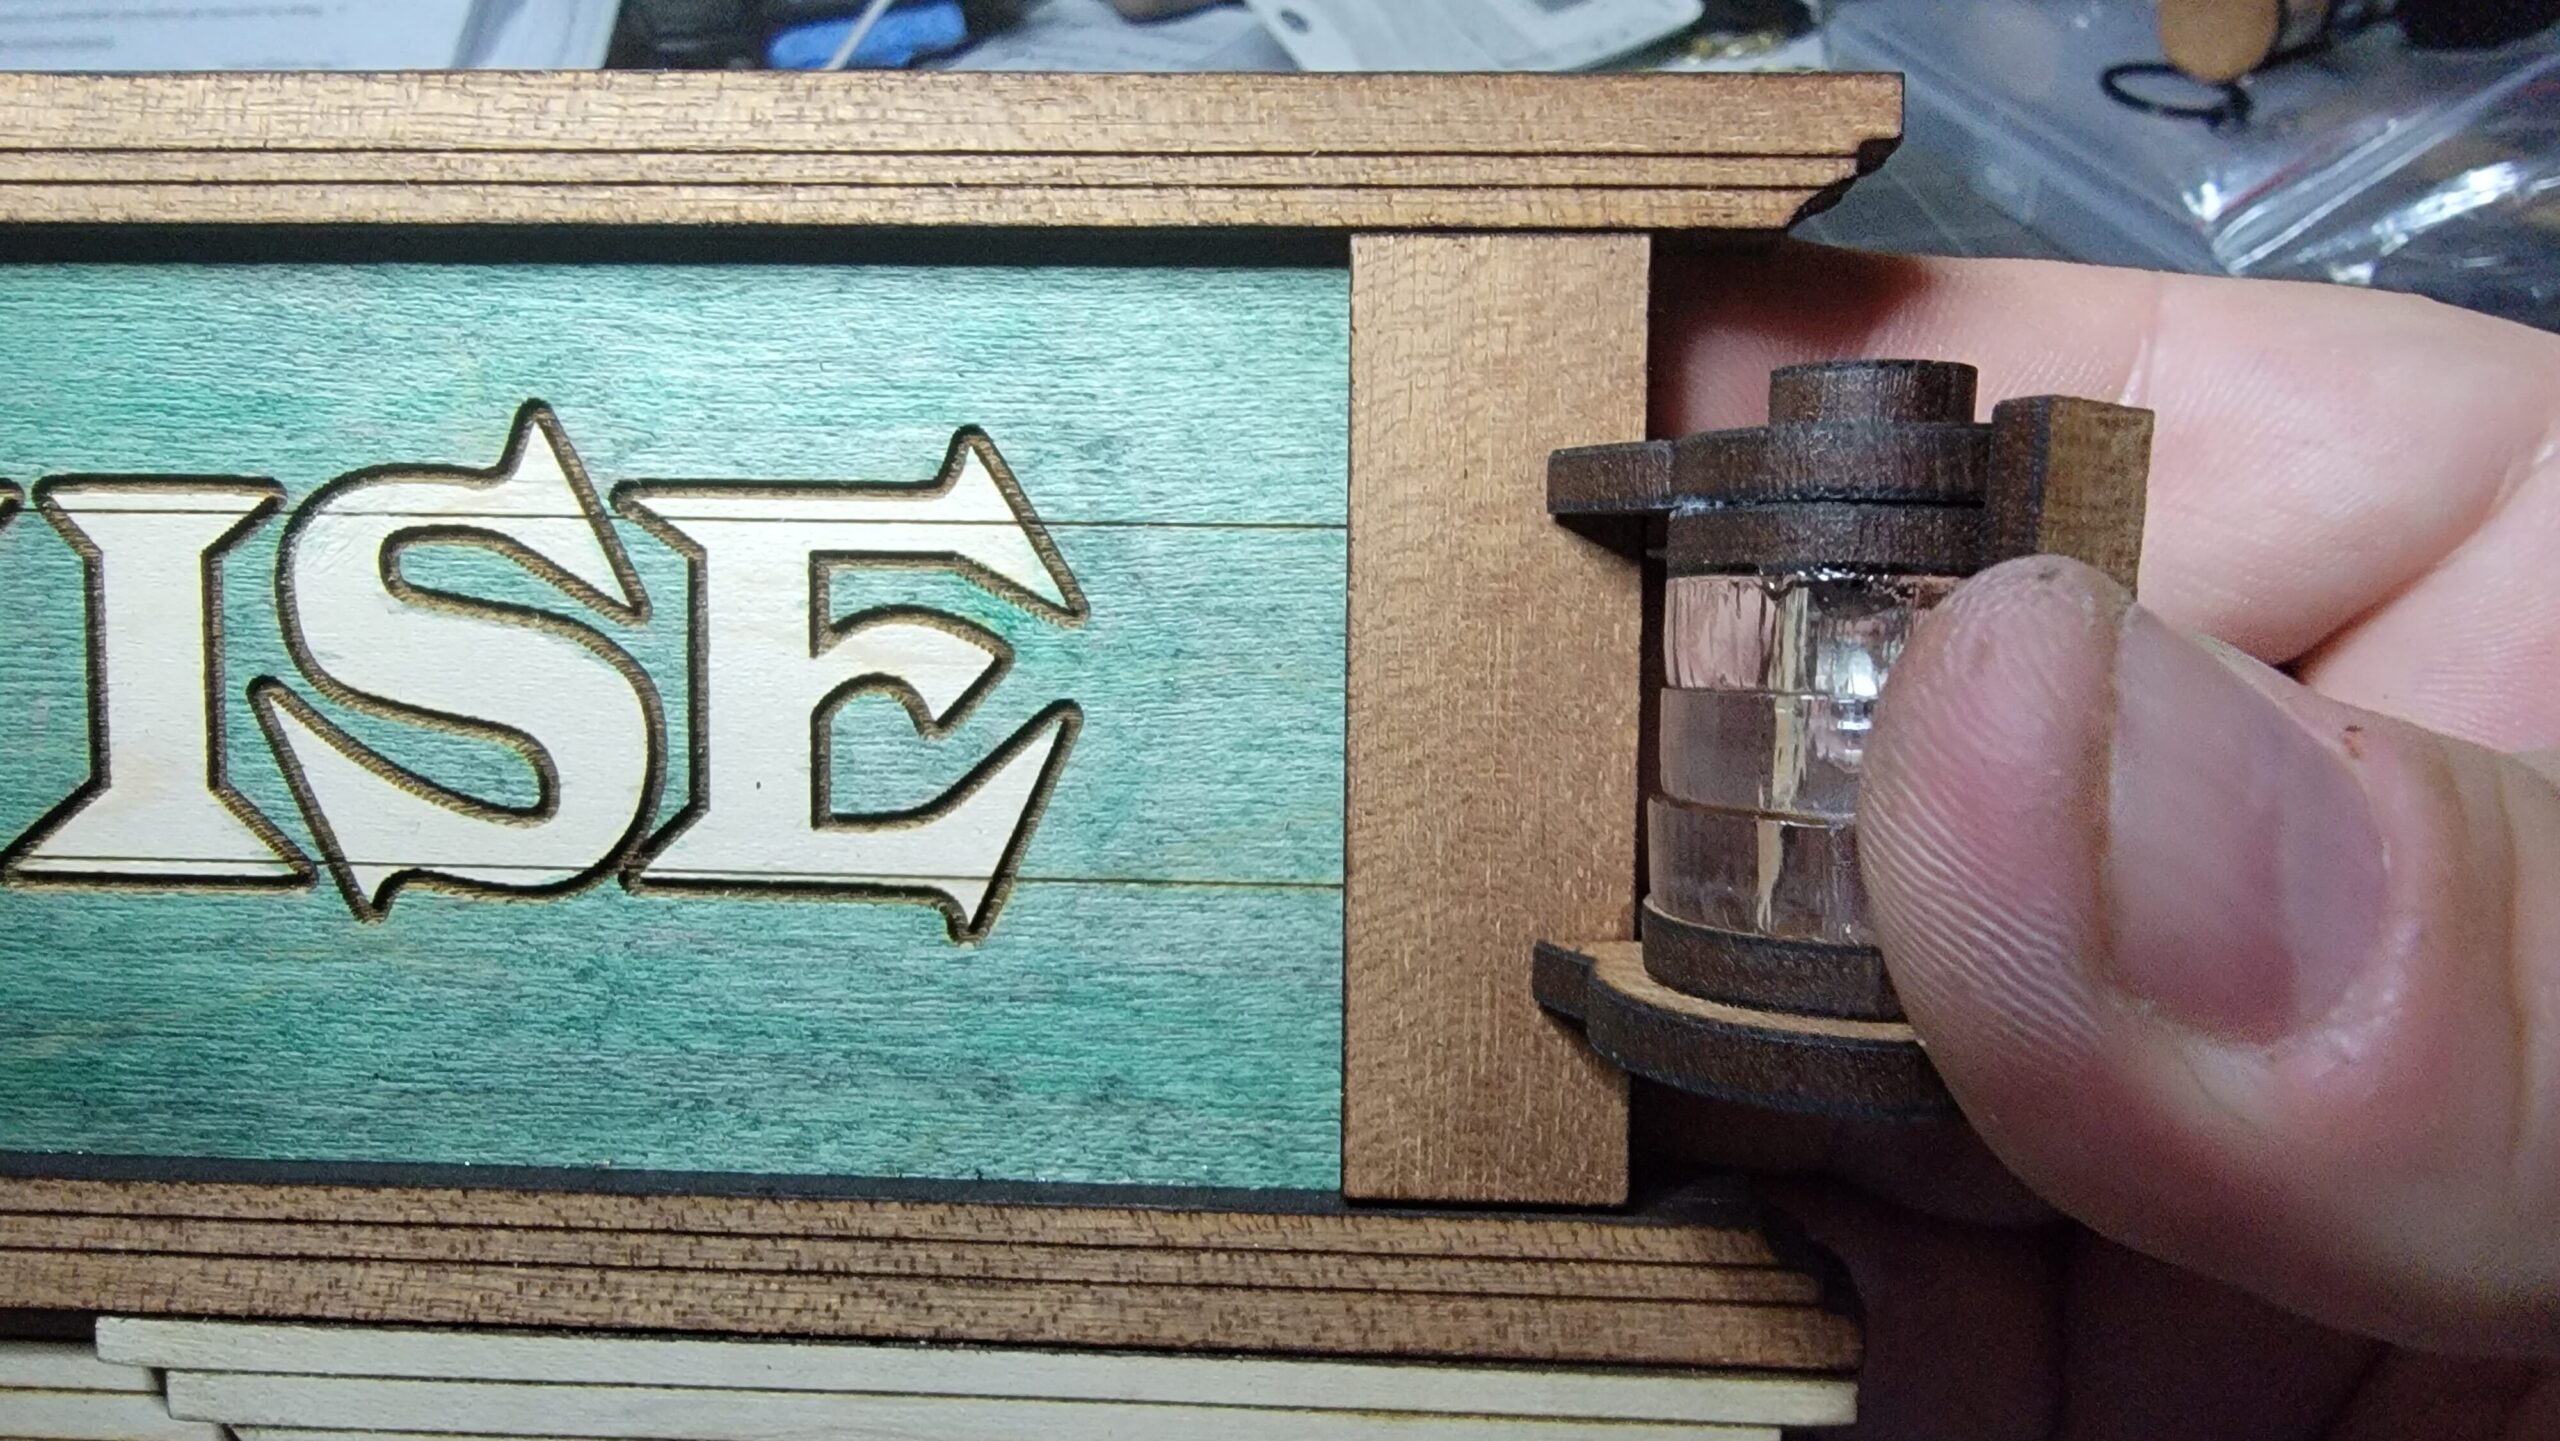
They should align up and down with the scored lines that run across the Jungle Cruise title on the sign.
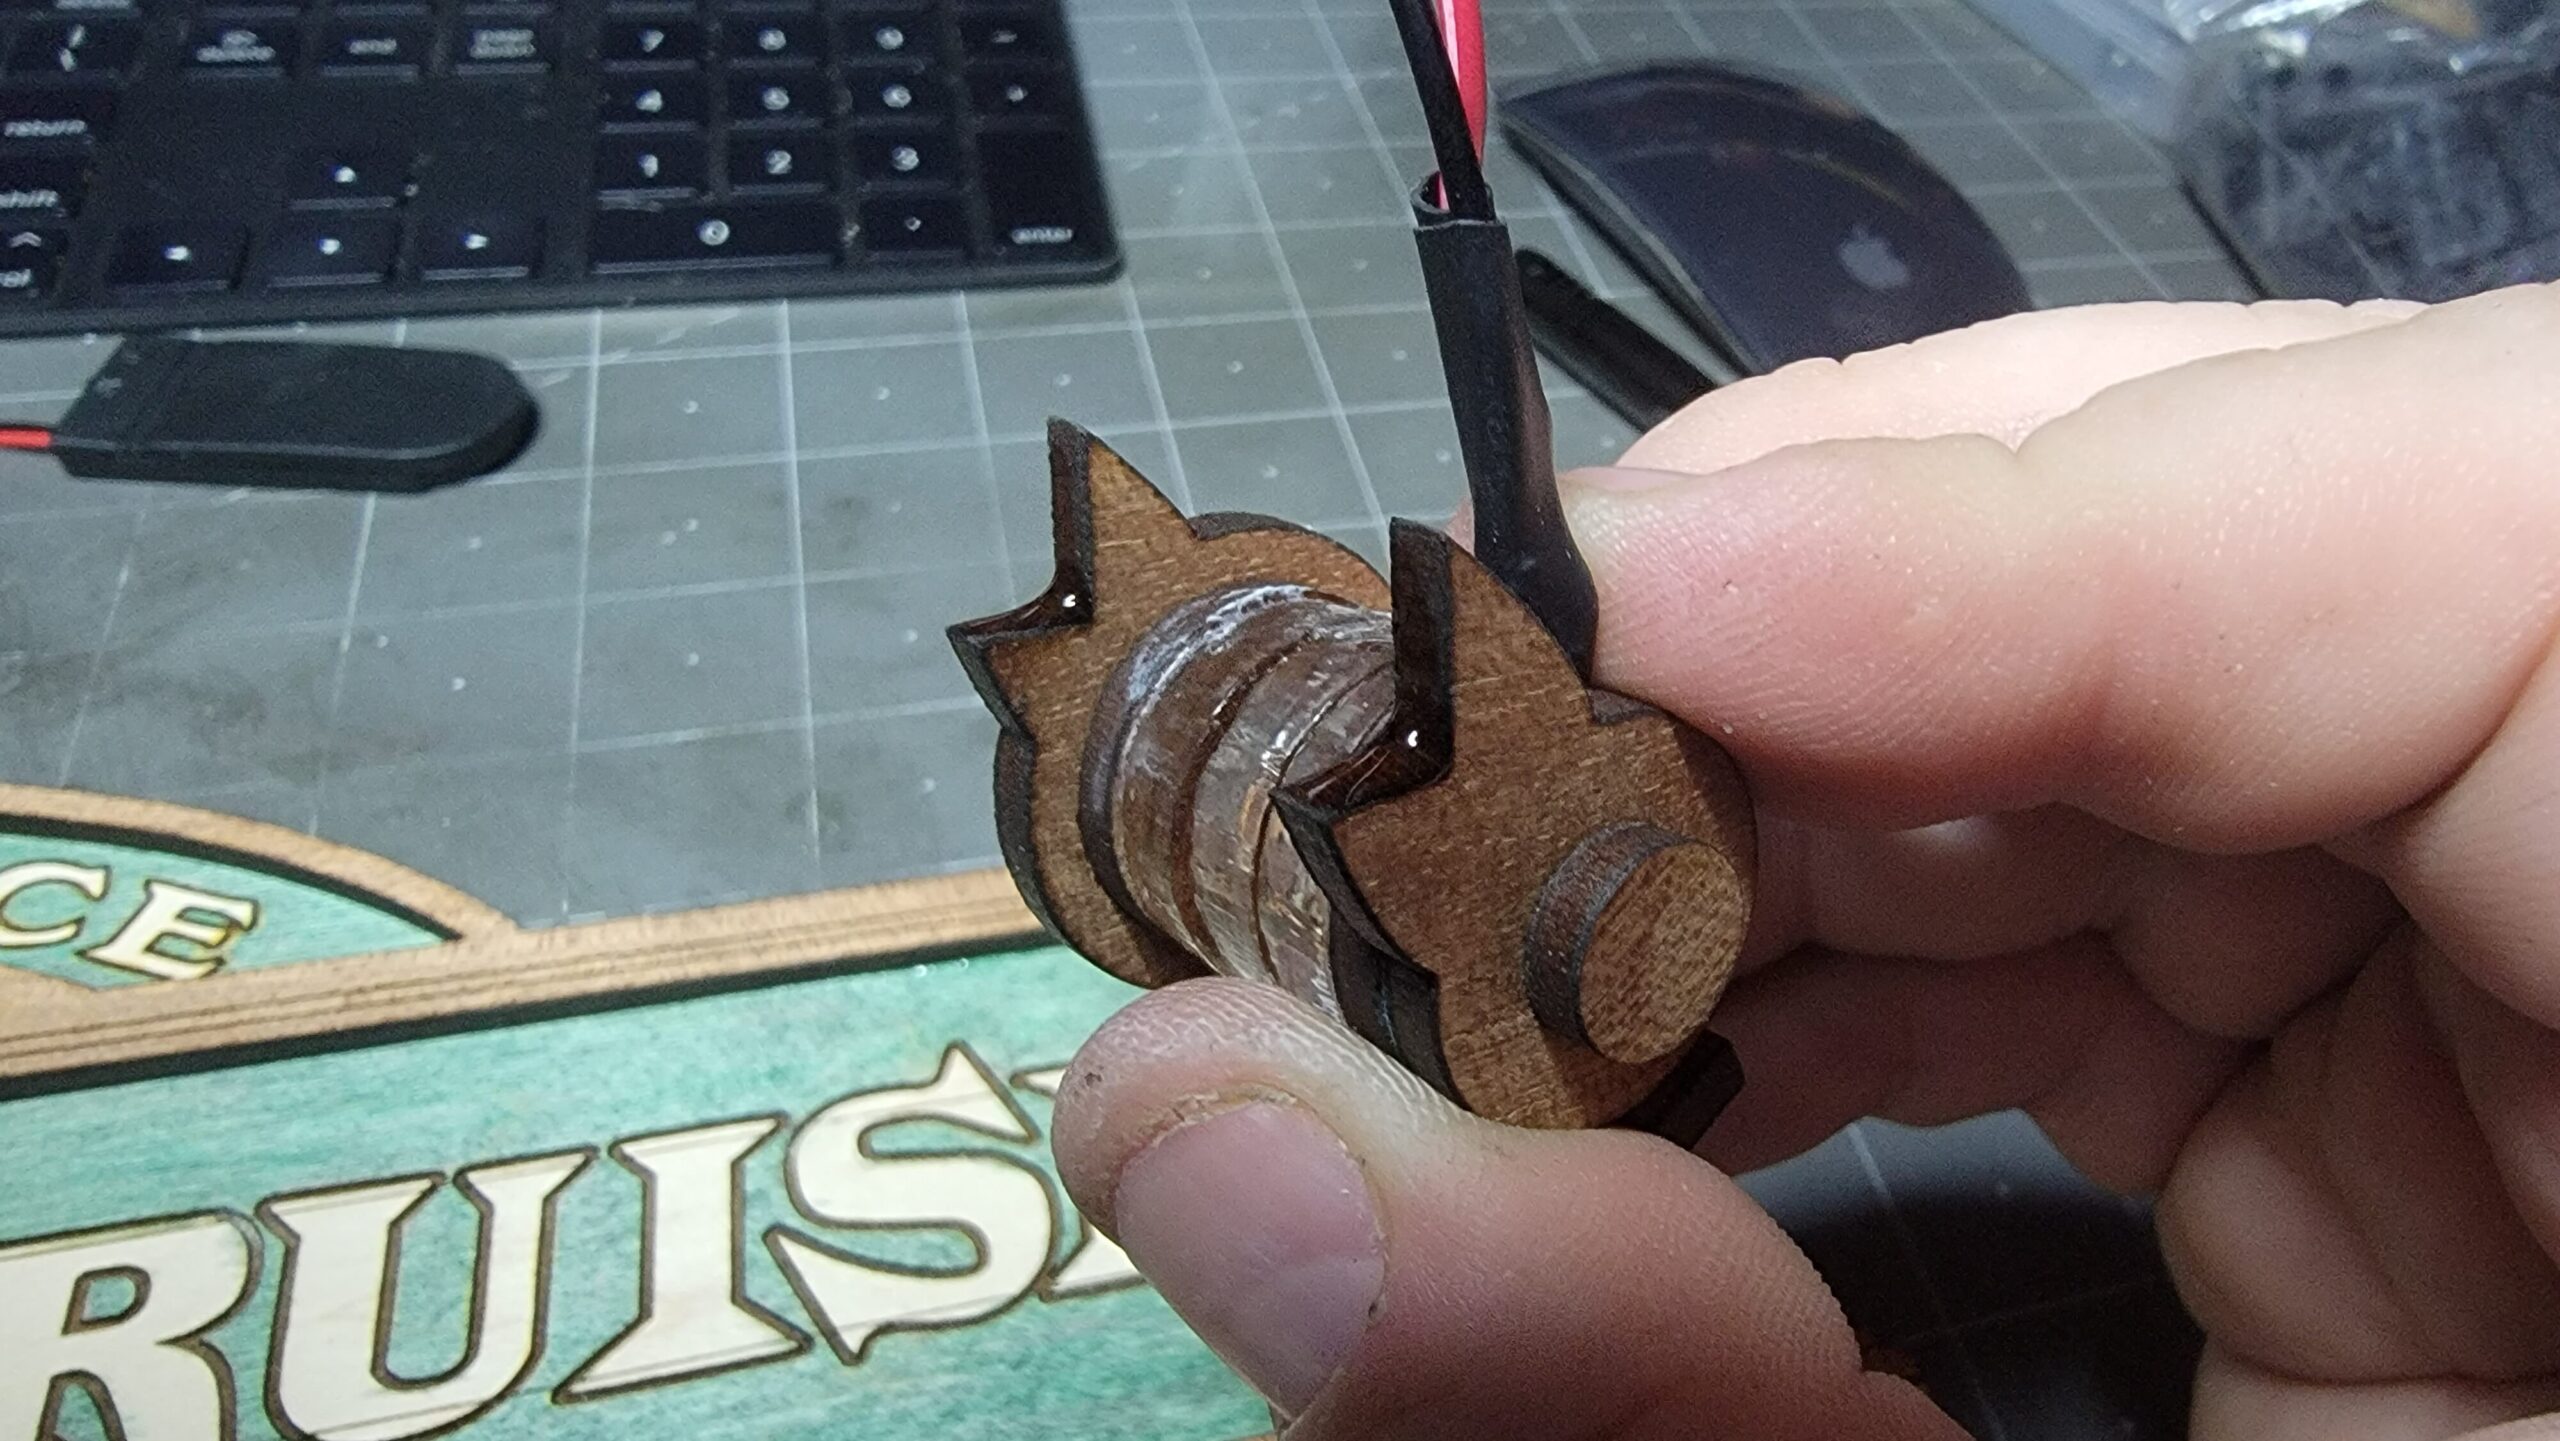
Add glue to those inside edges of the “L” brackets. A small package of epoxy glue may have been provided. If not, please use either epoxy or super (CA) glue for best results.
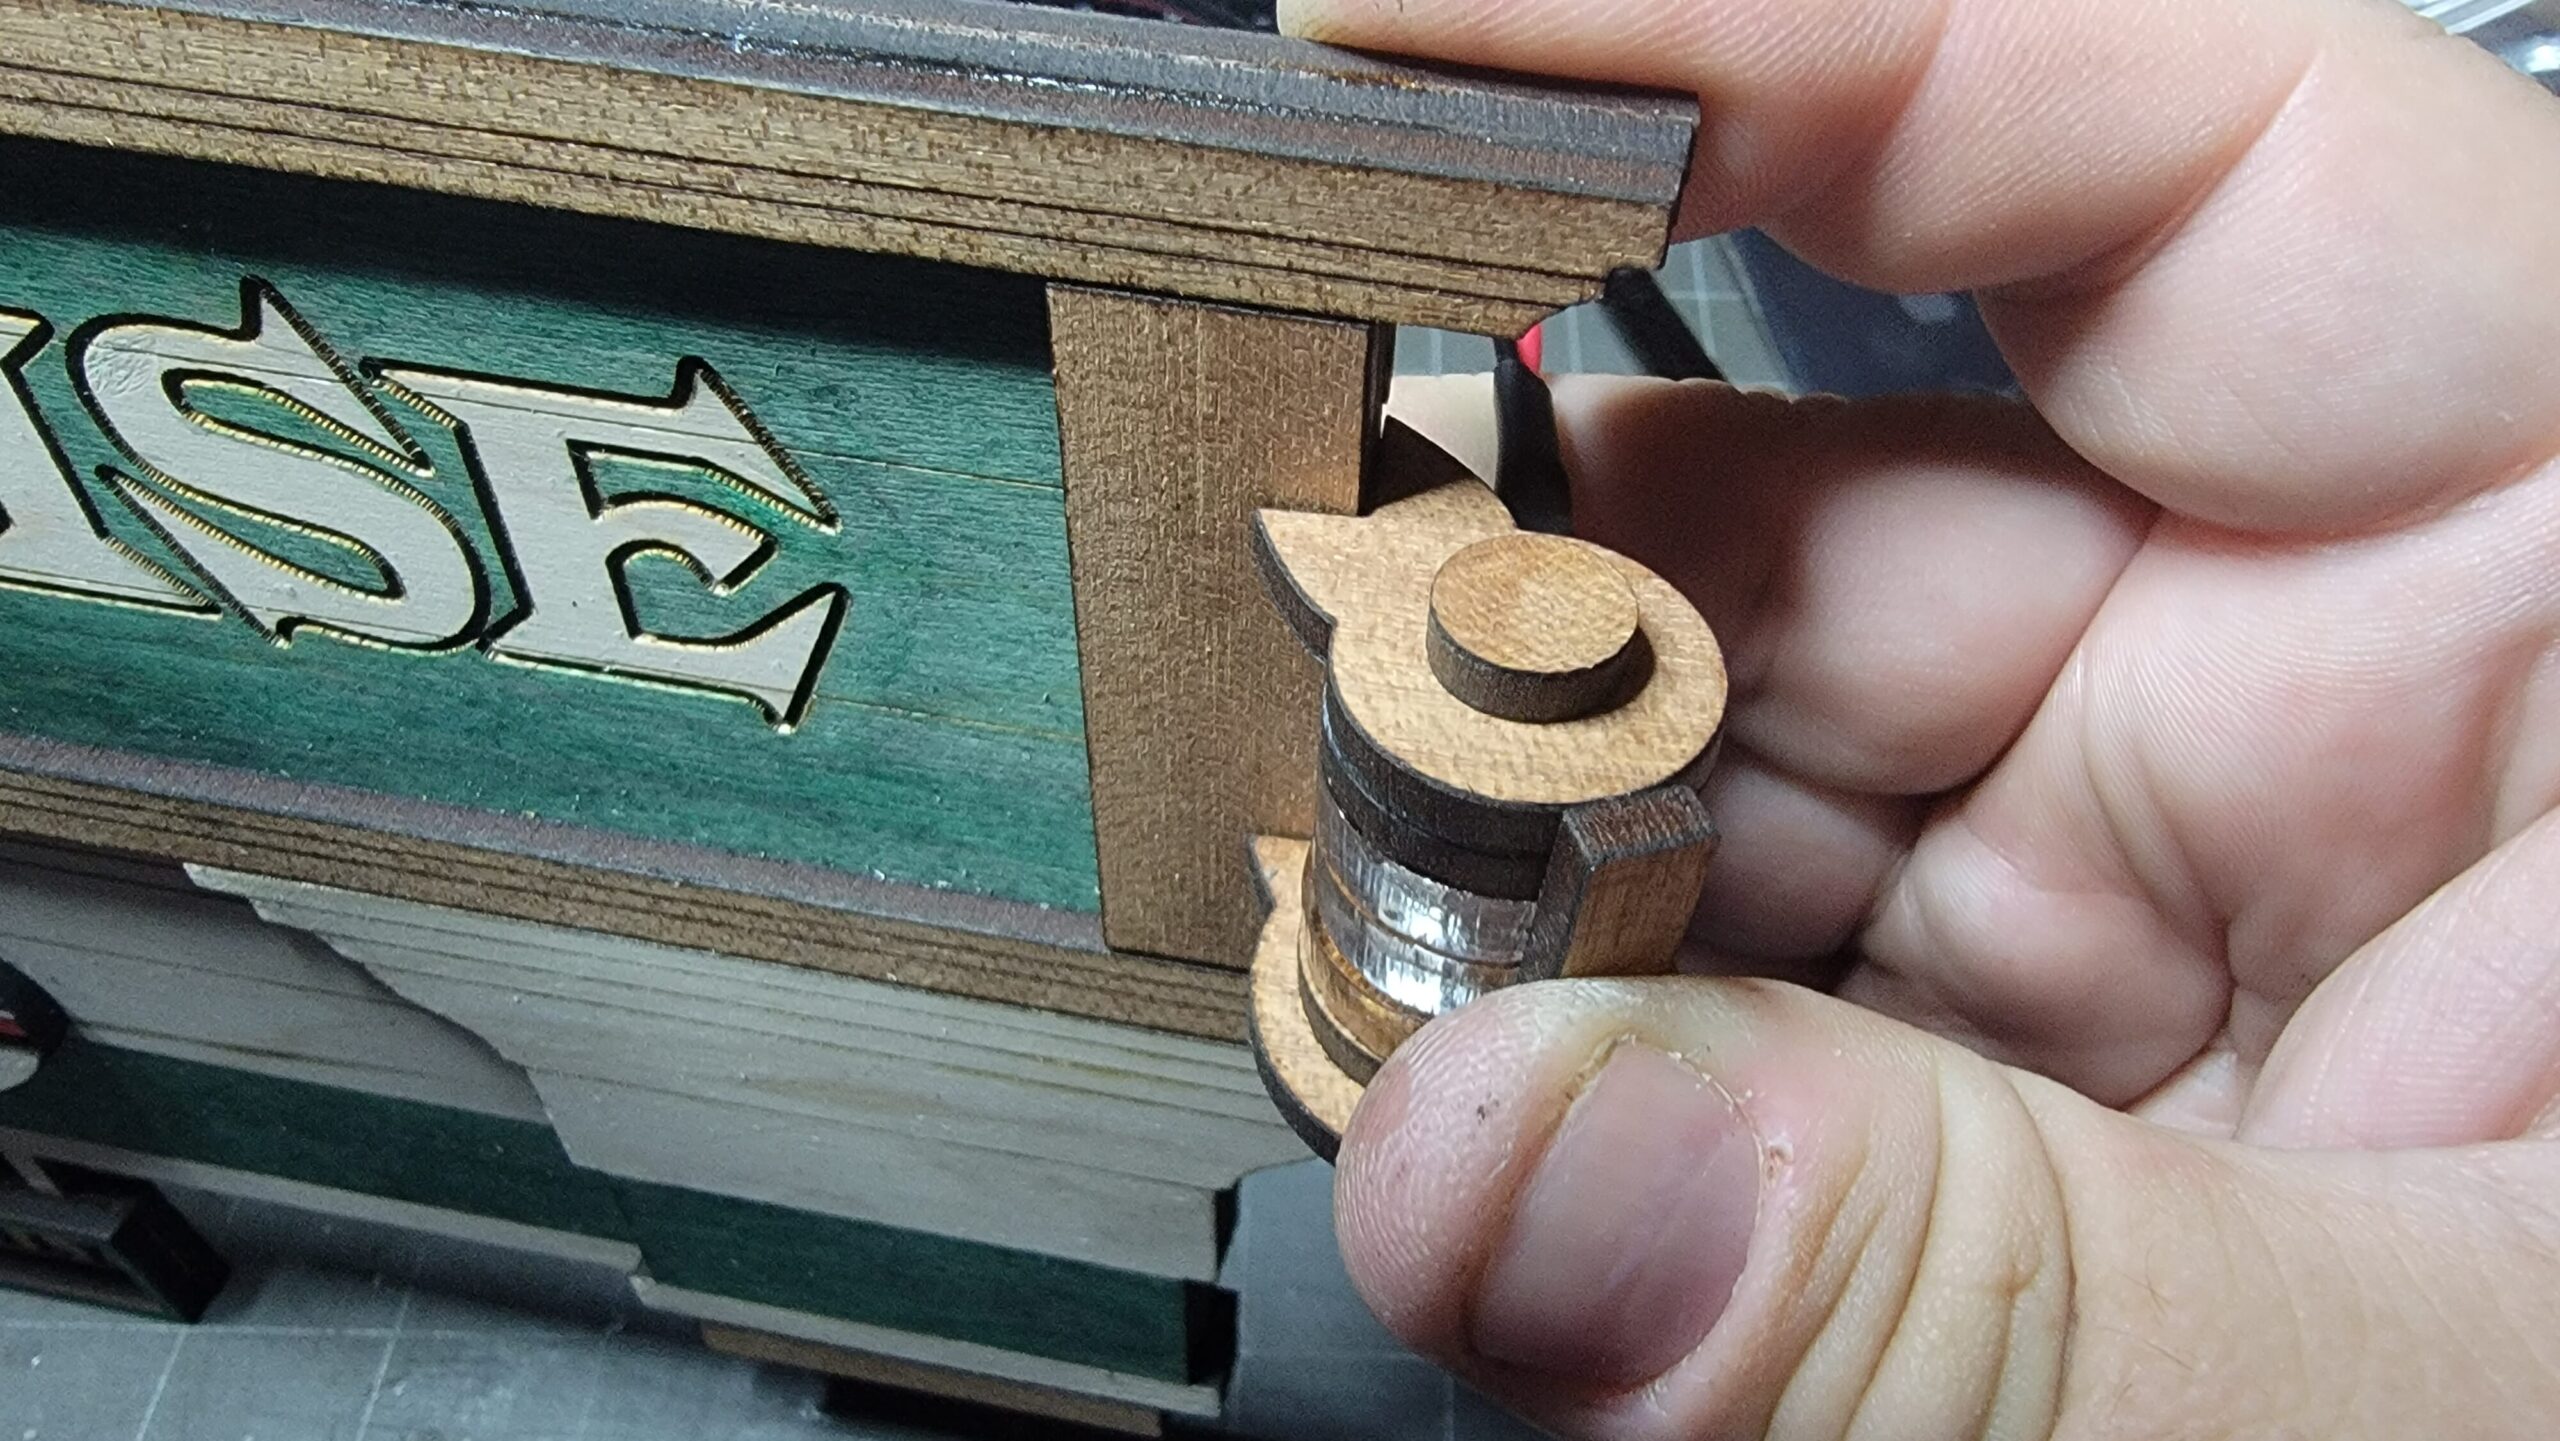
Again, ensure the correct side of the “L” bracket in aligned to the edge of the sign as shown in photo. You will need to hold the piece in place for at least 30 seconds to give proper time for the glue to set.
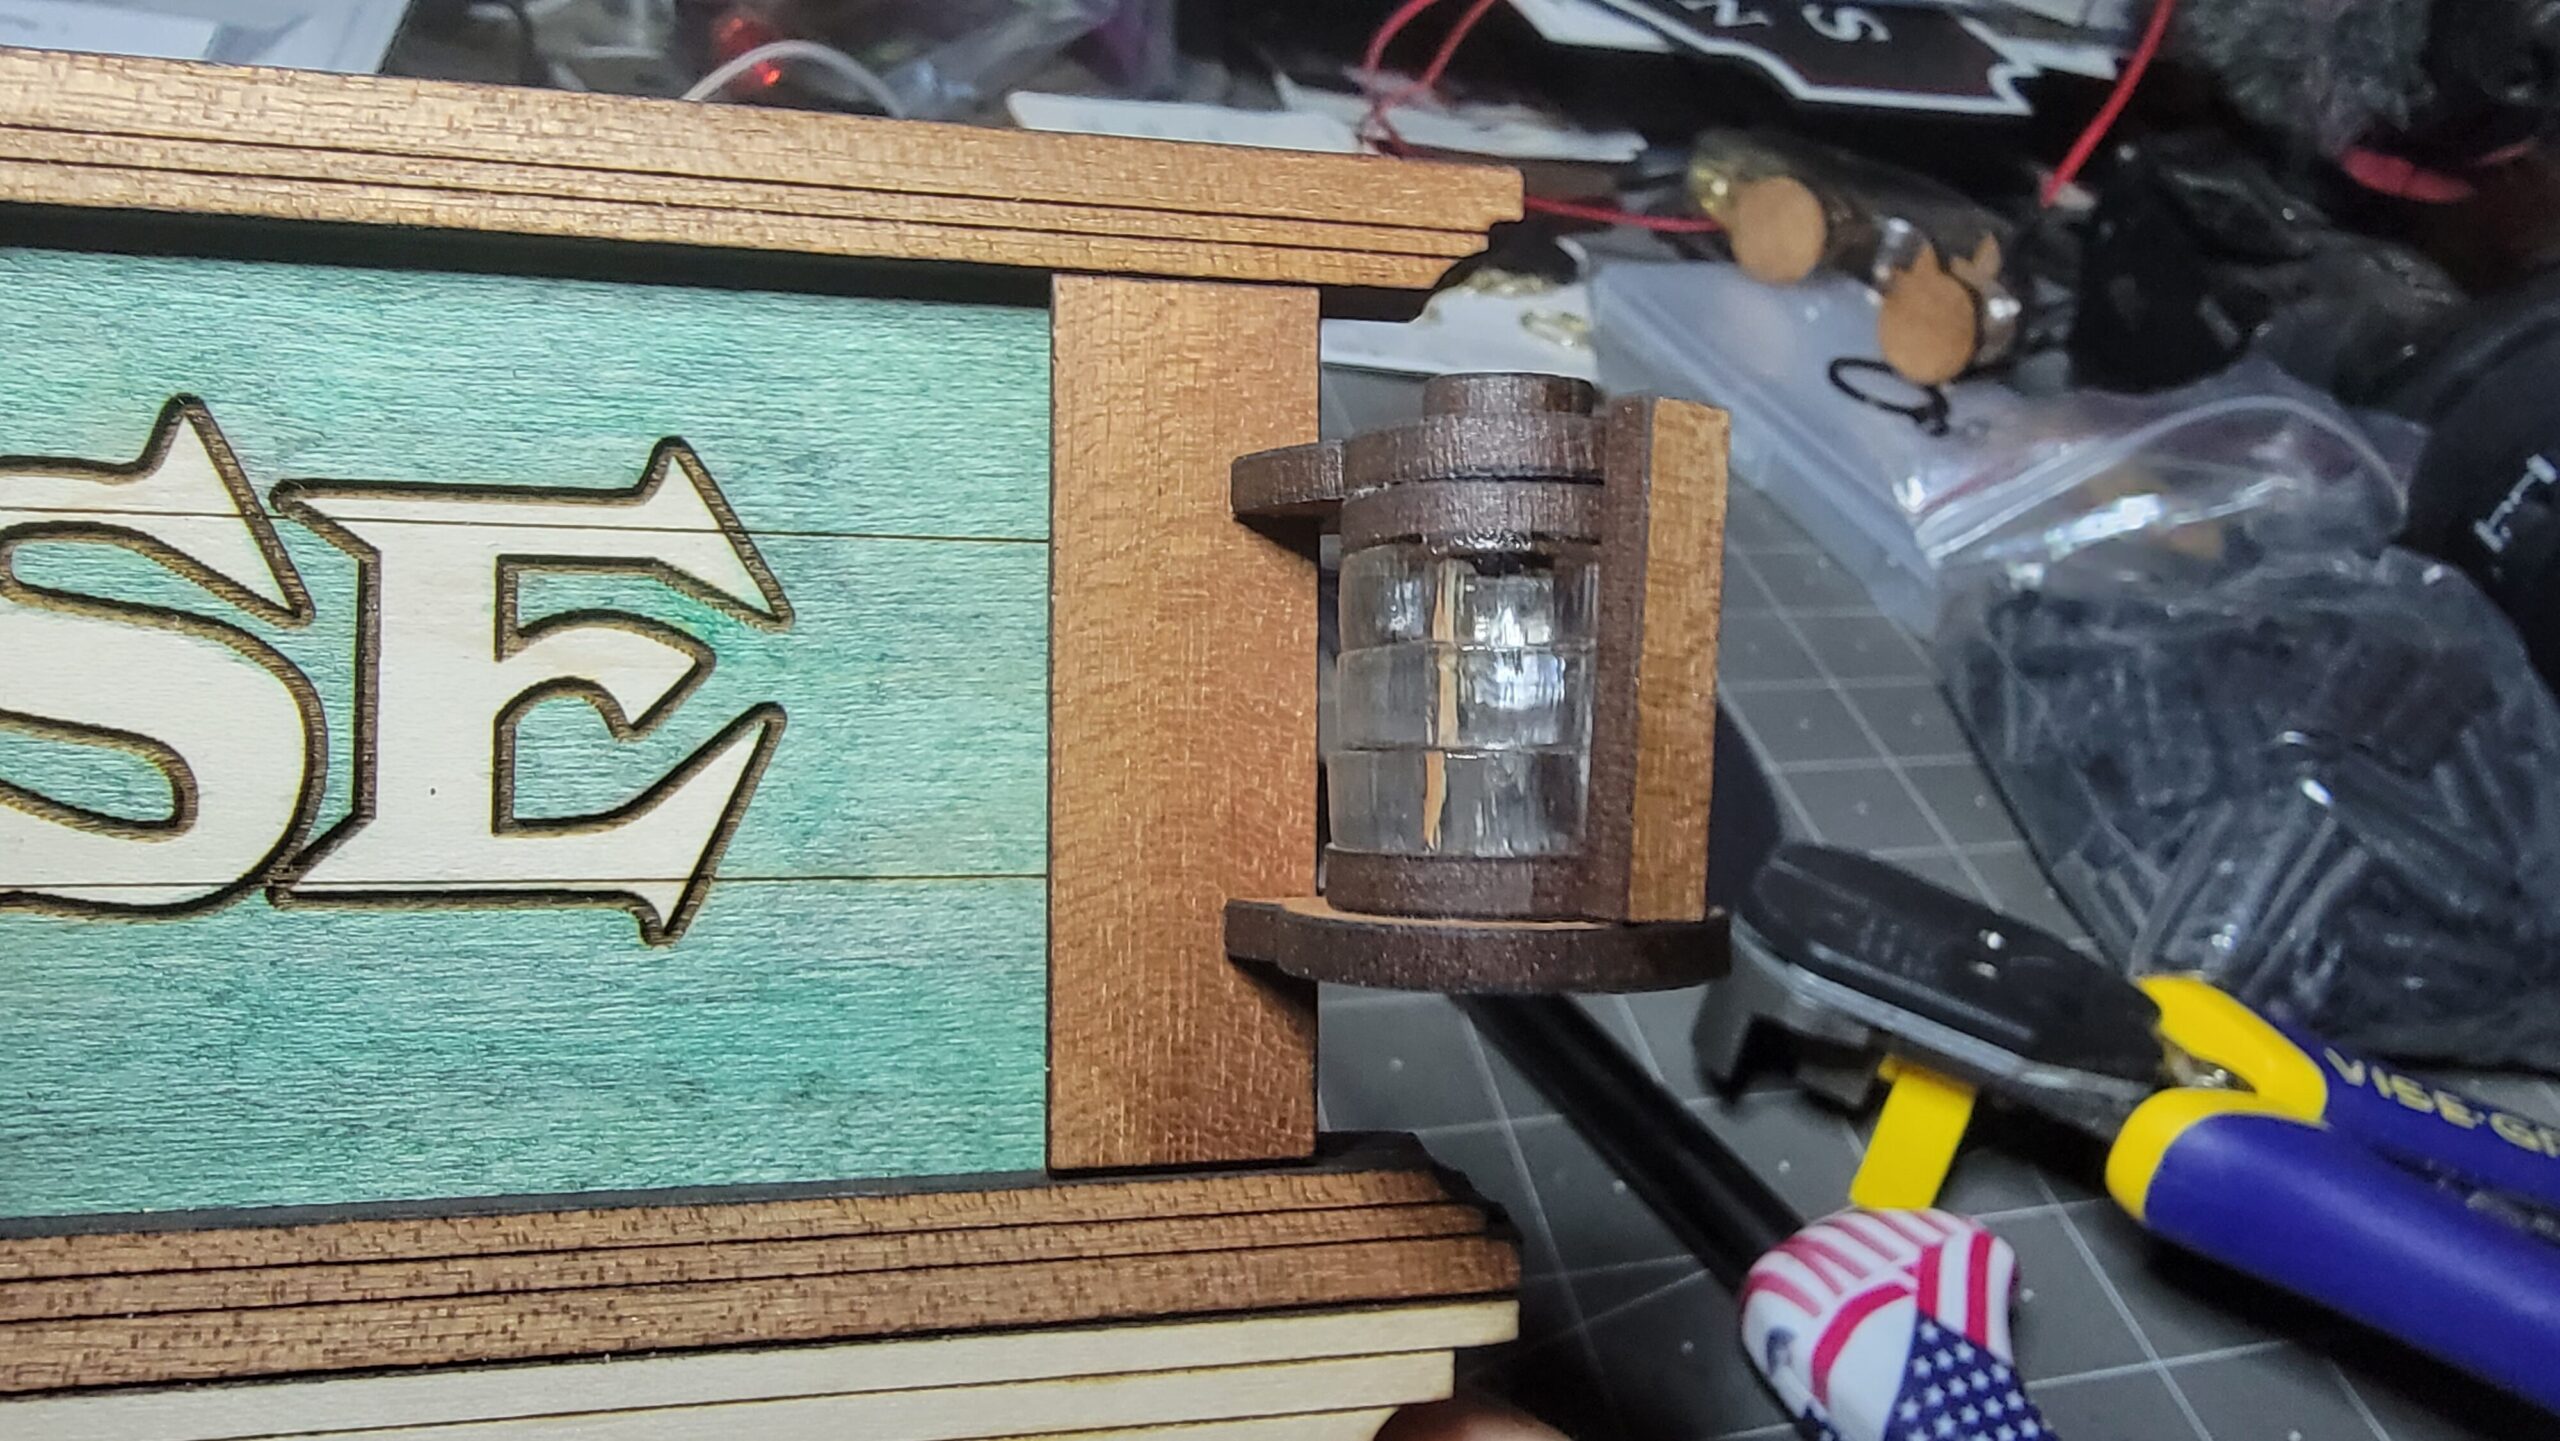
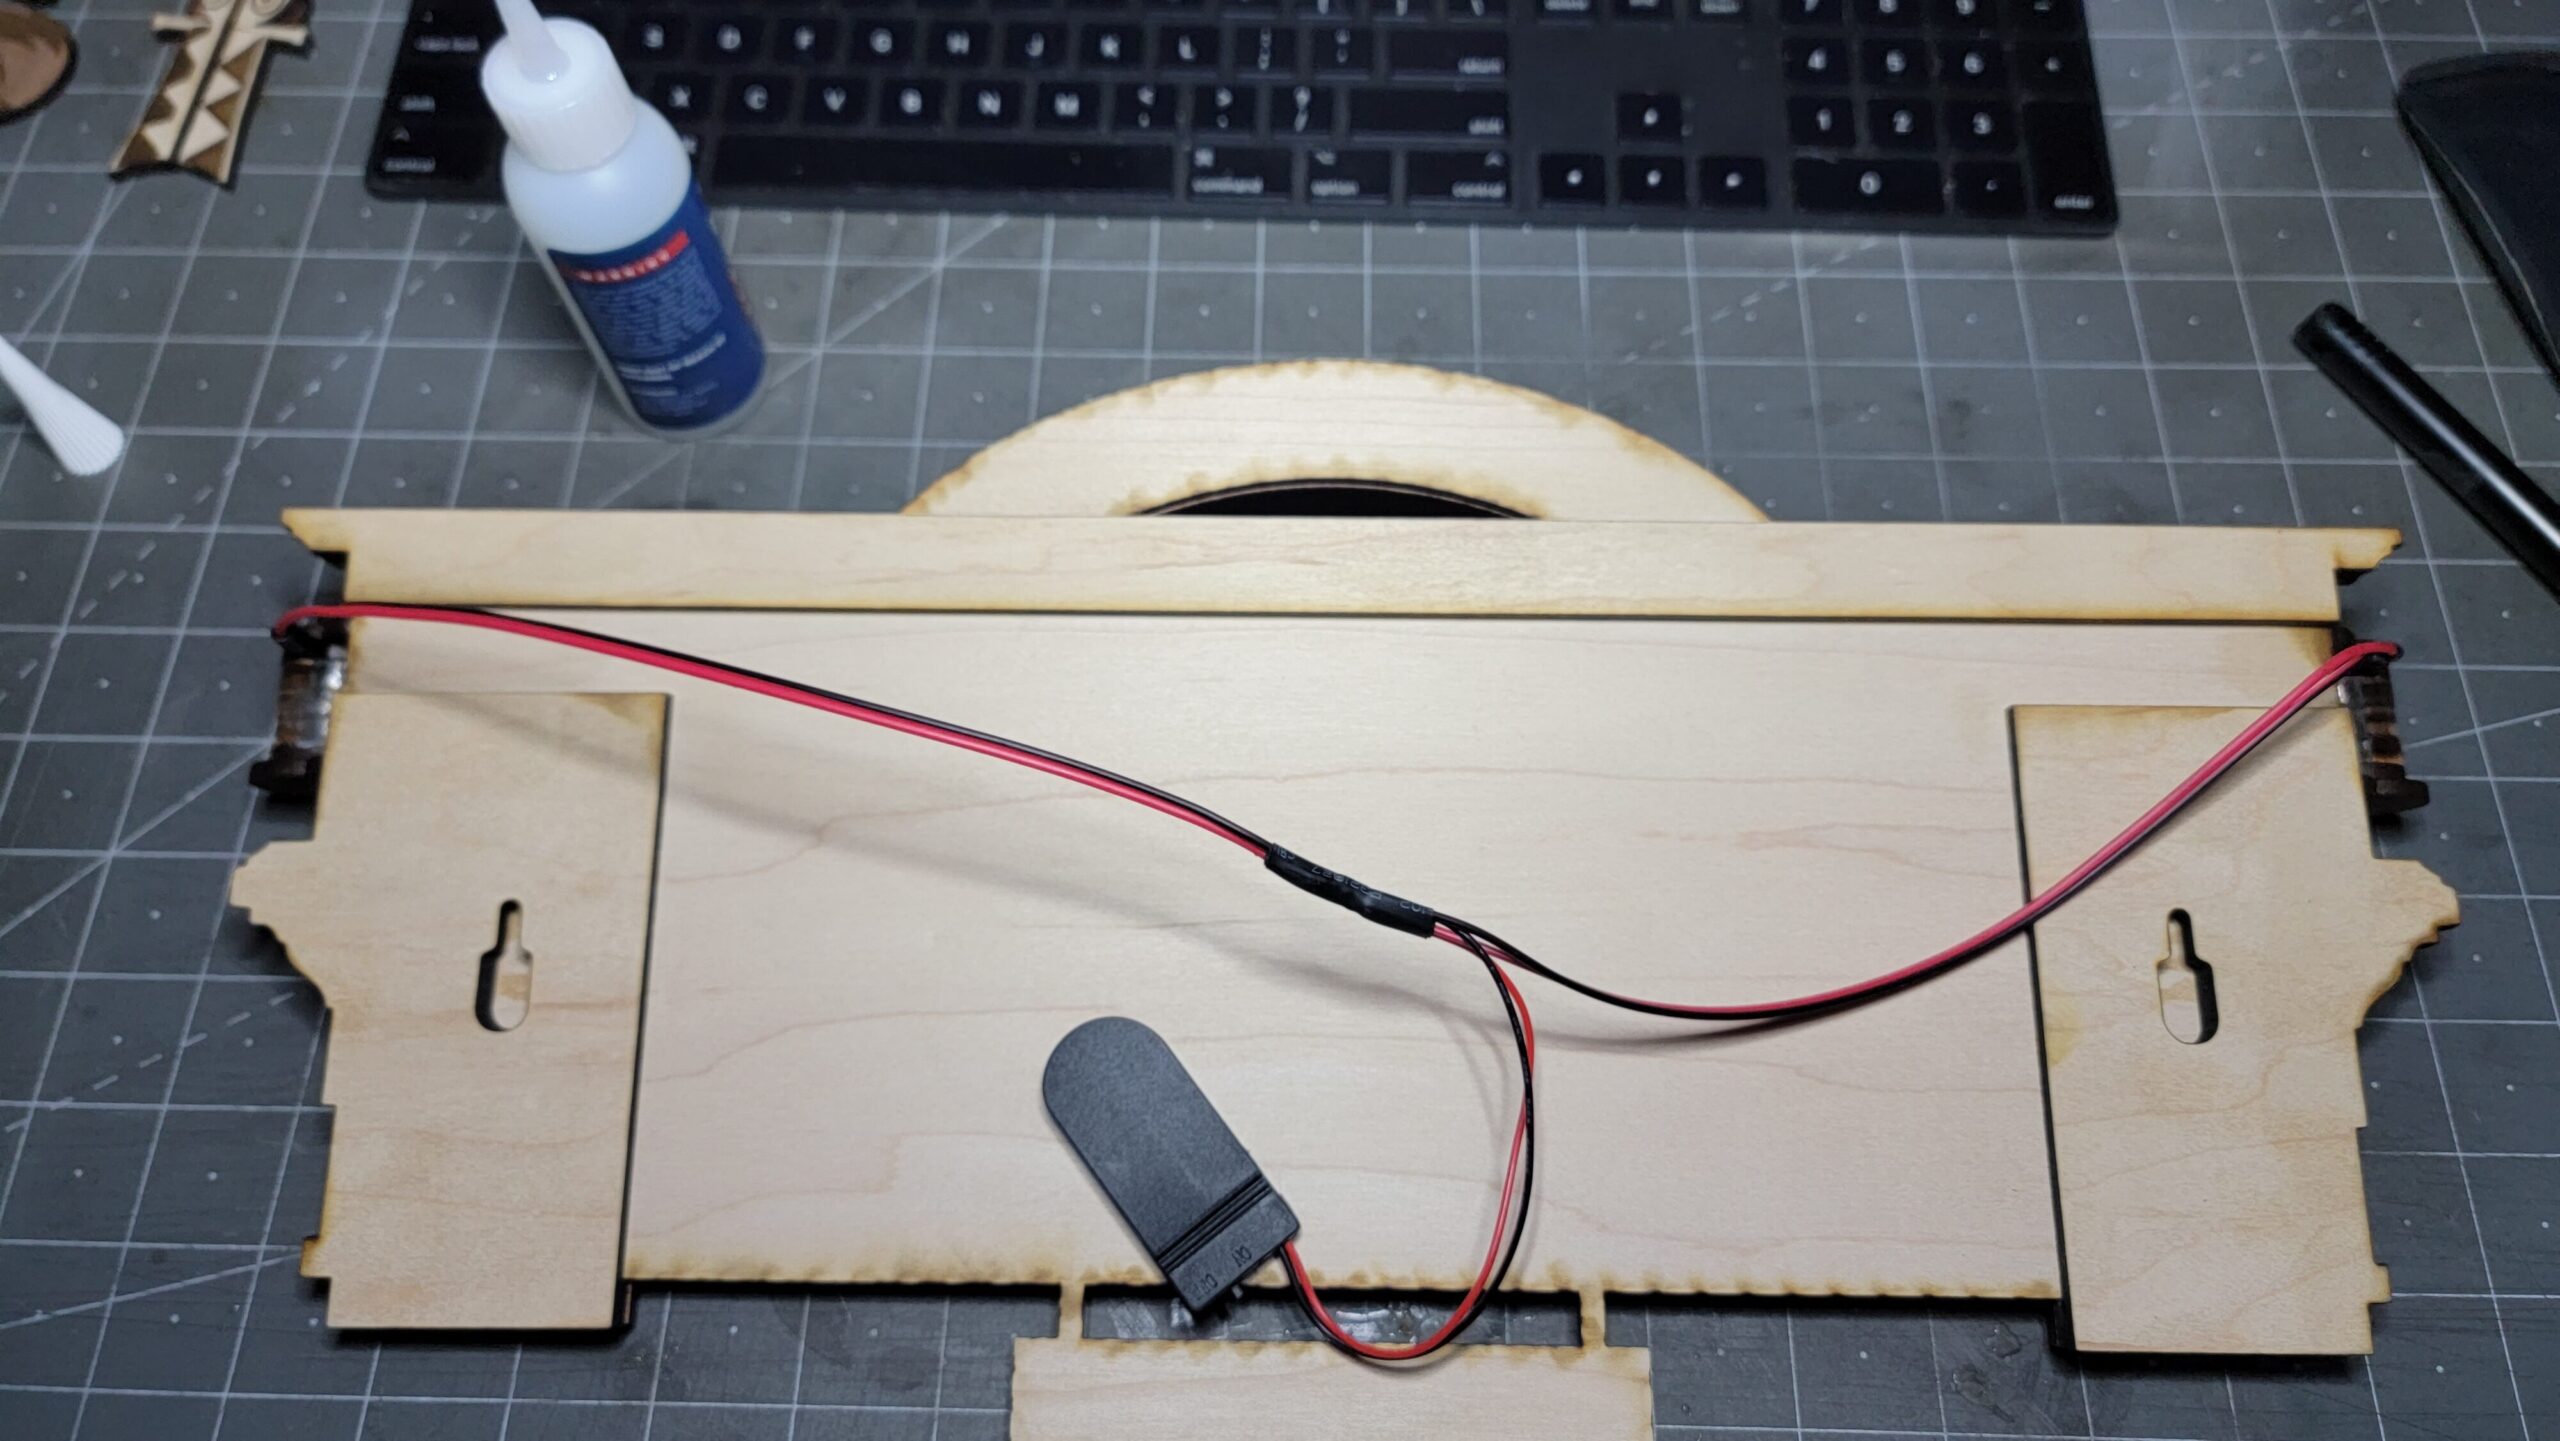
After waiting at least another few minutes, the glue should be dry and you may flip the sign over so that you can glue the wires on the back side of the sign.
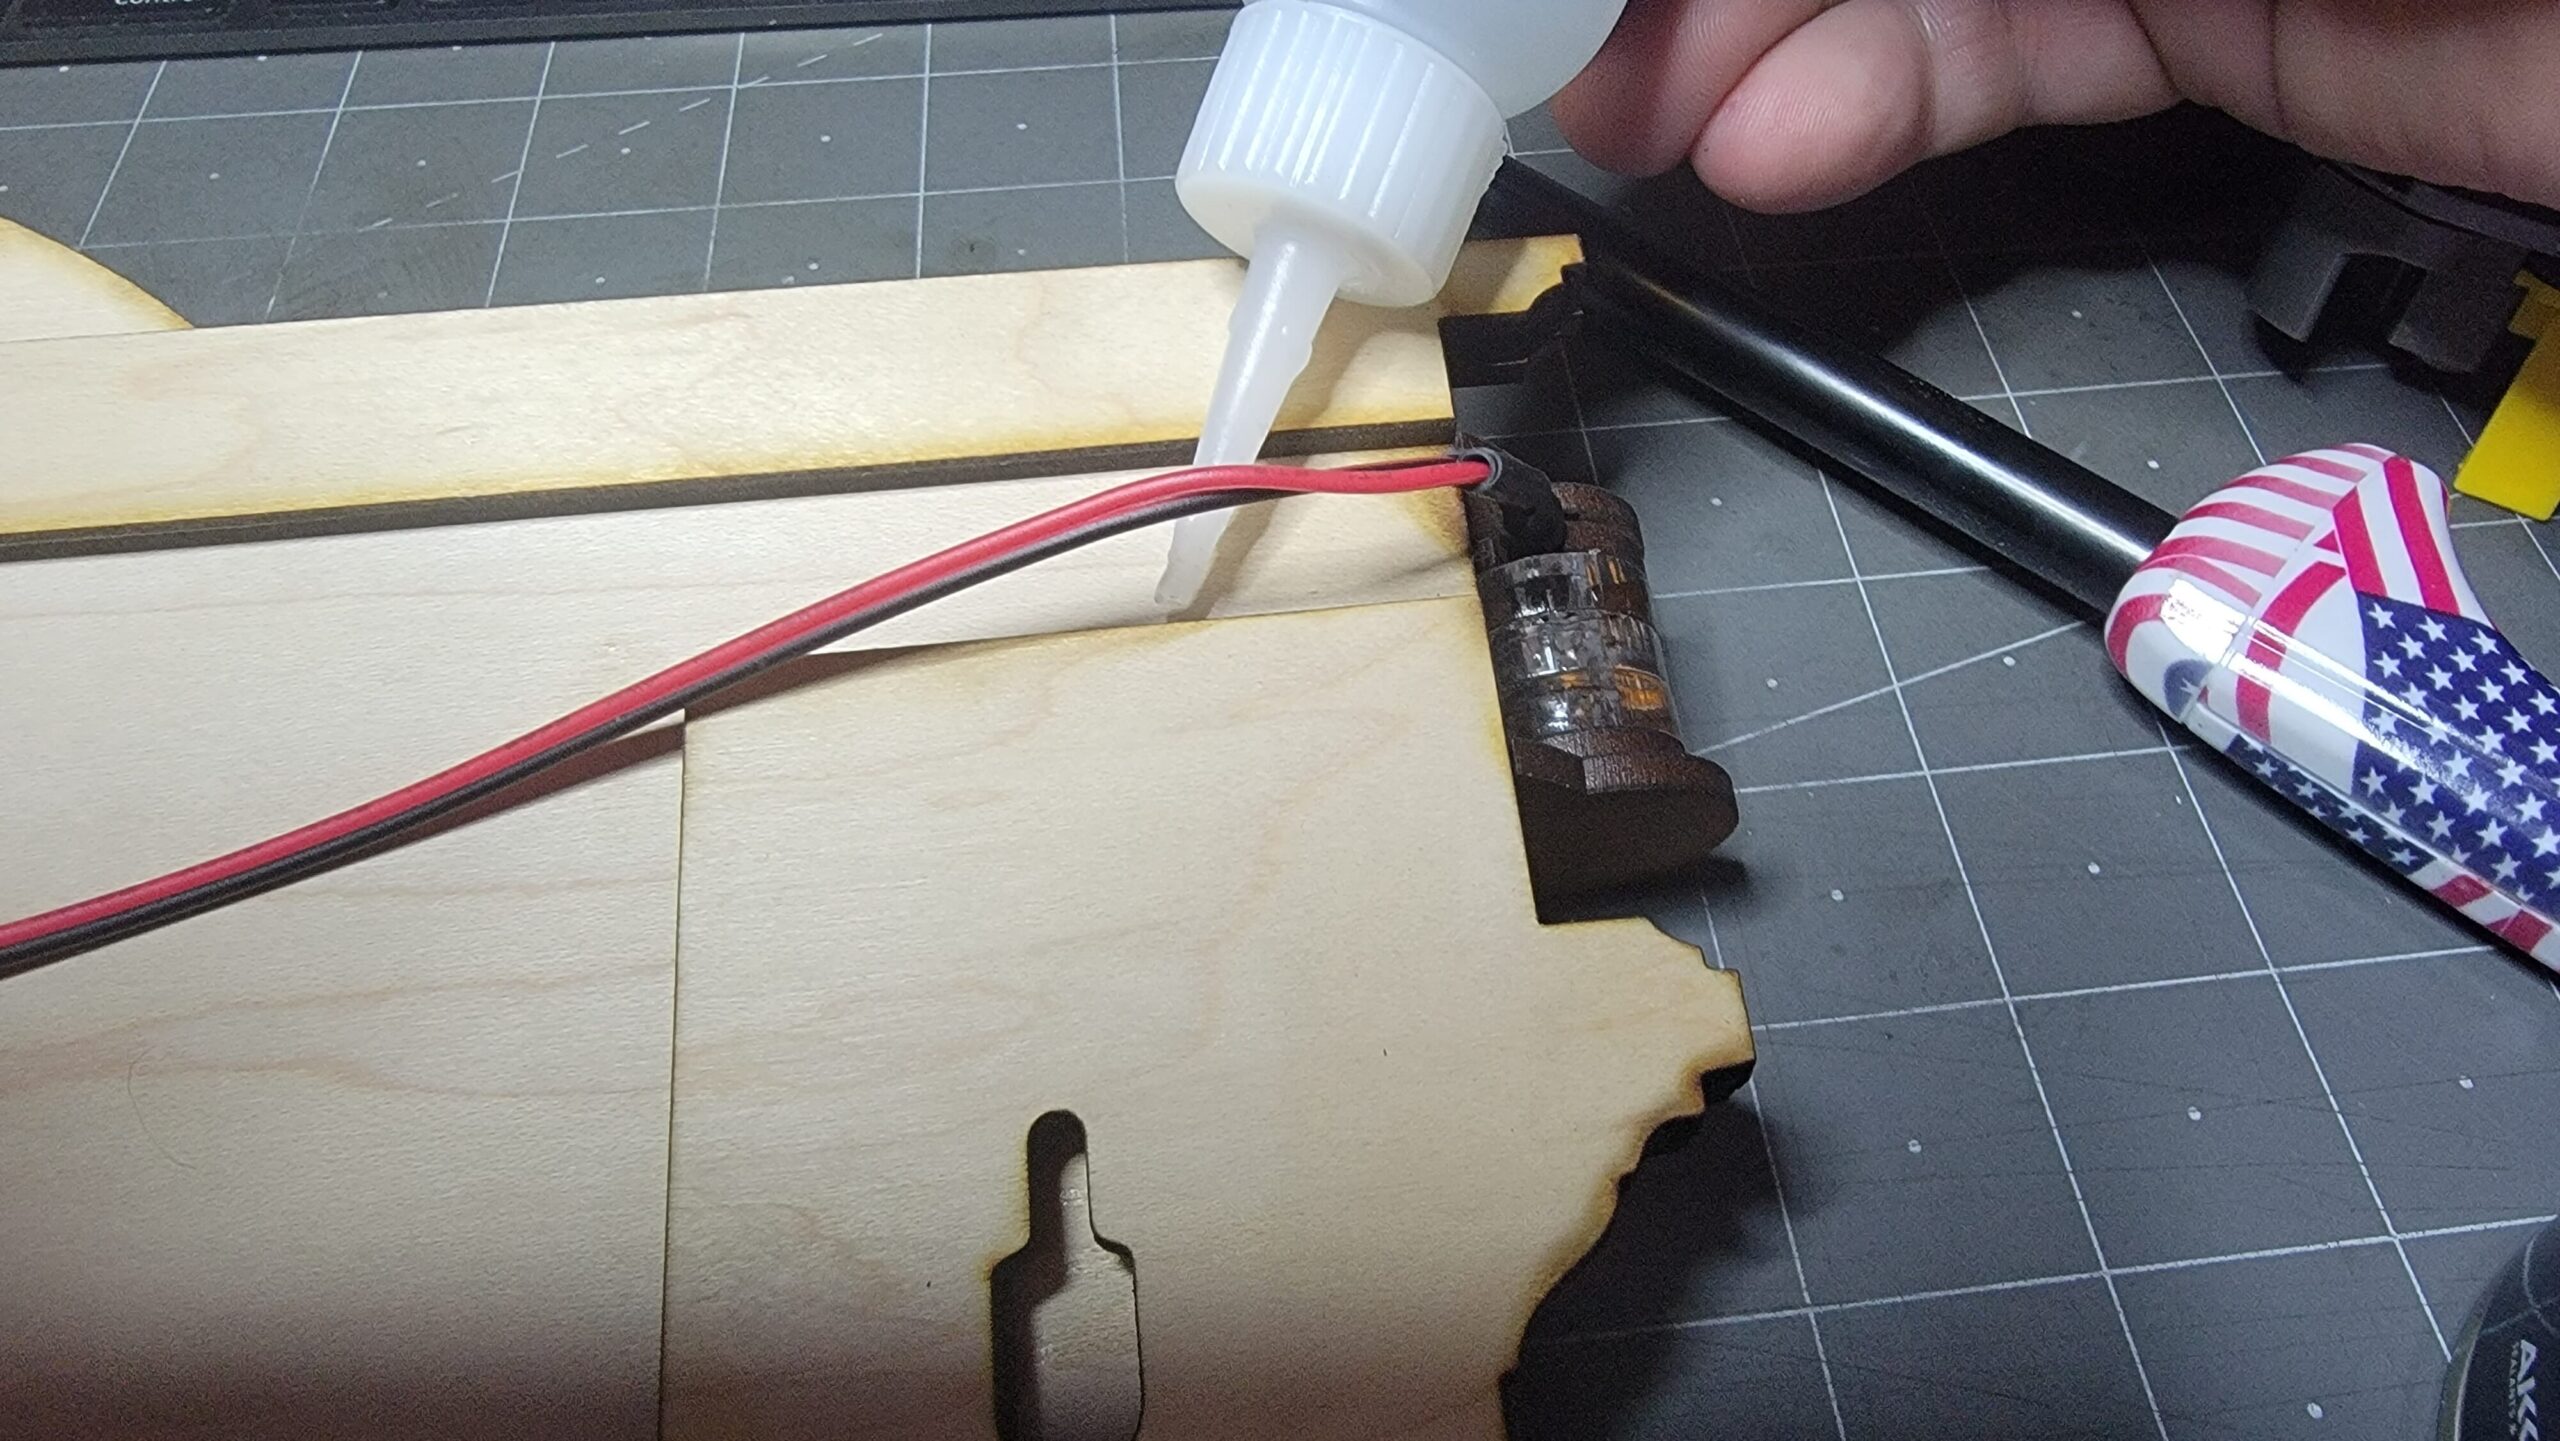
On each side of the sign just next to the lanterns and just above the plywood piece that has the hole foe hanging, add some glue.
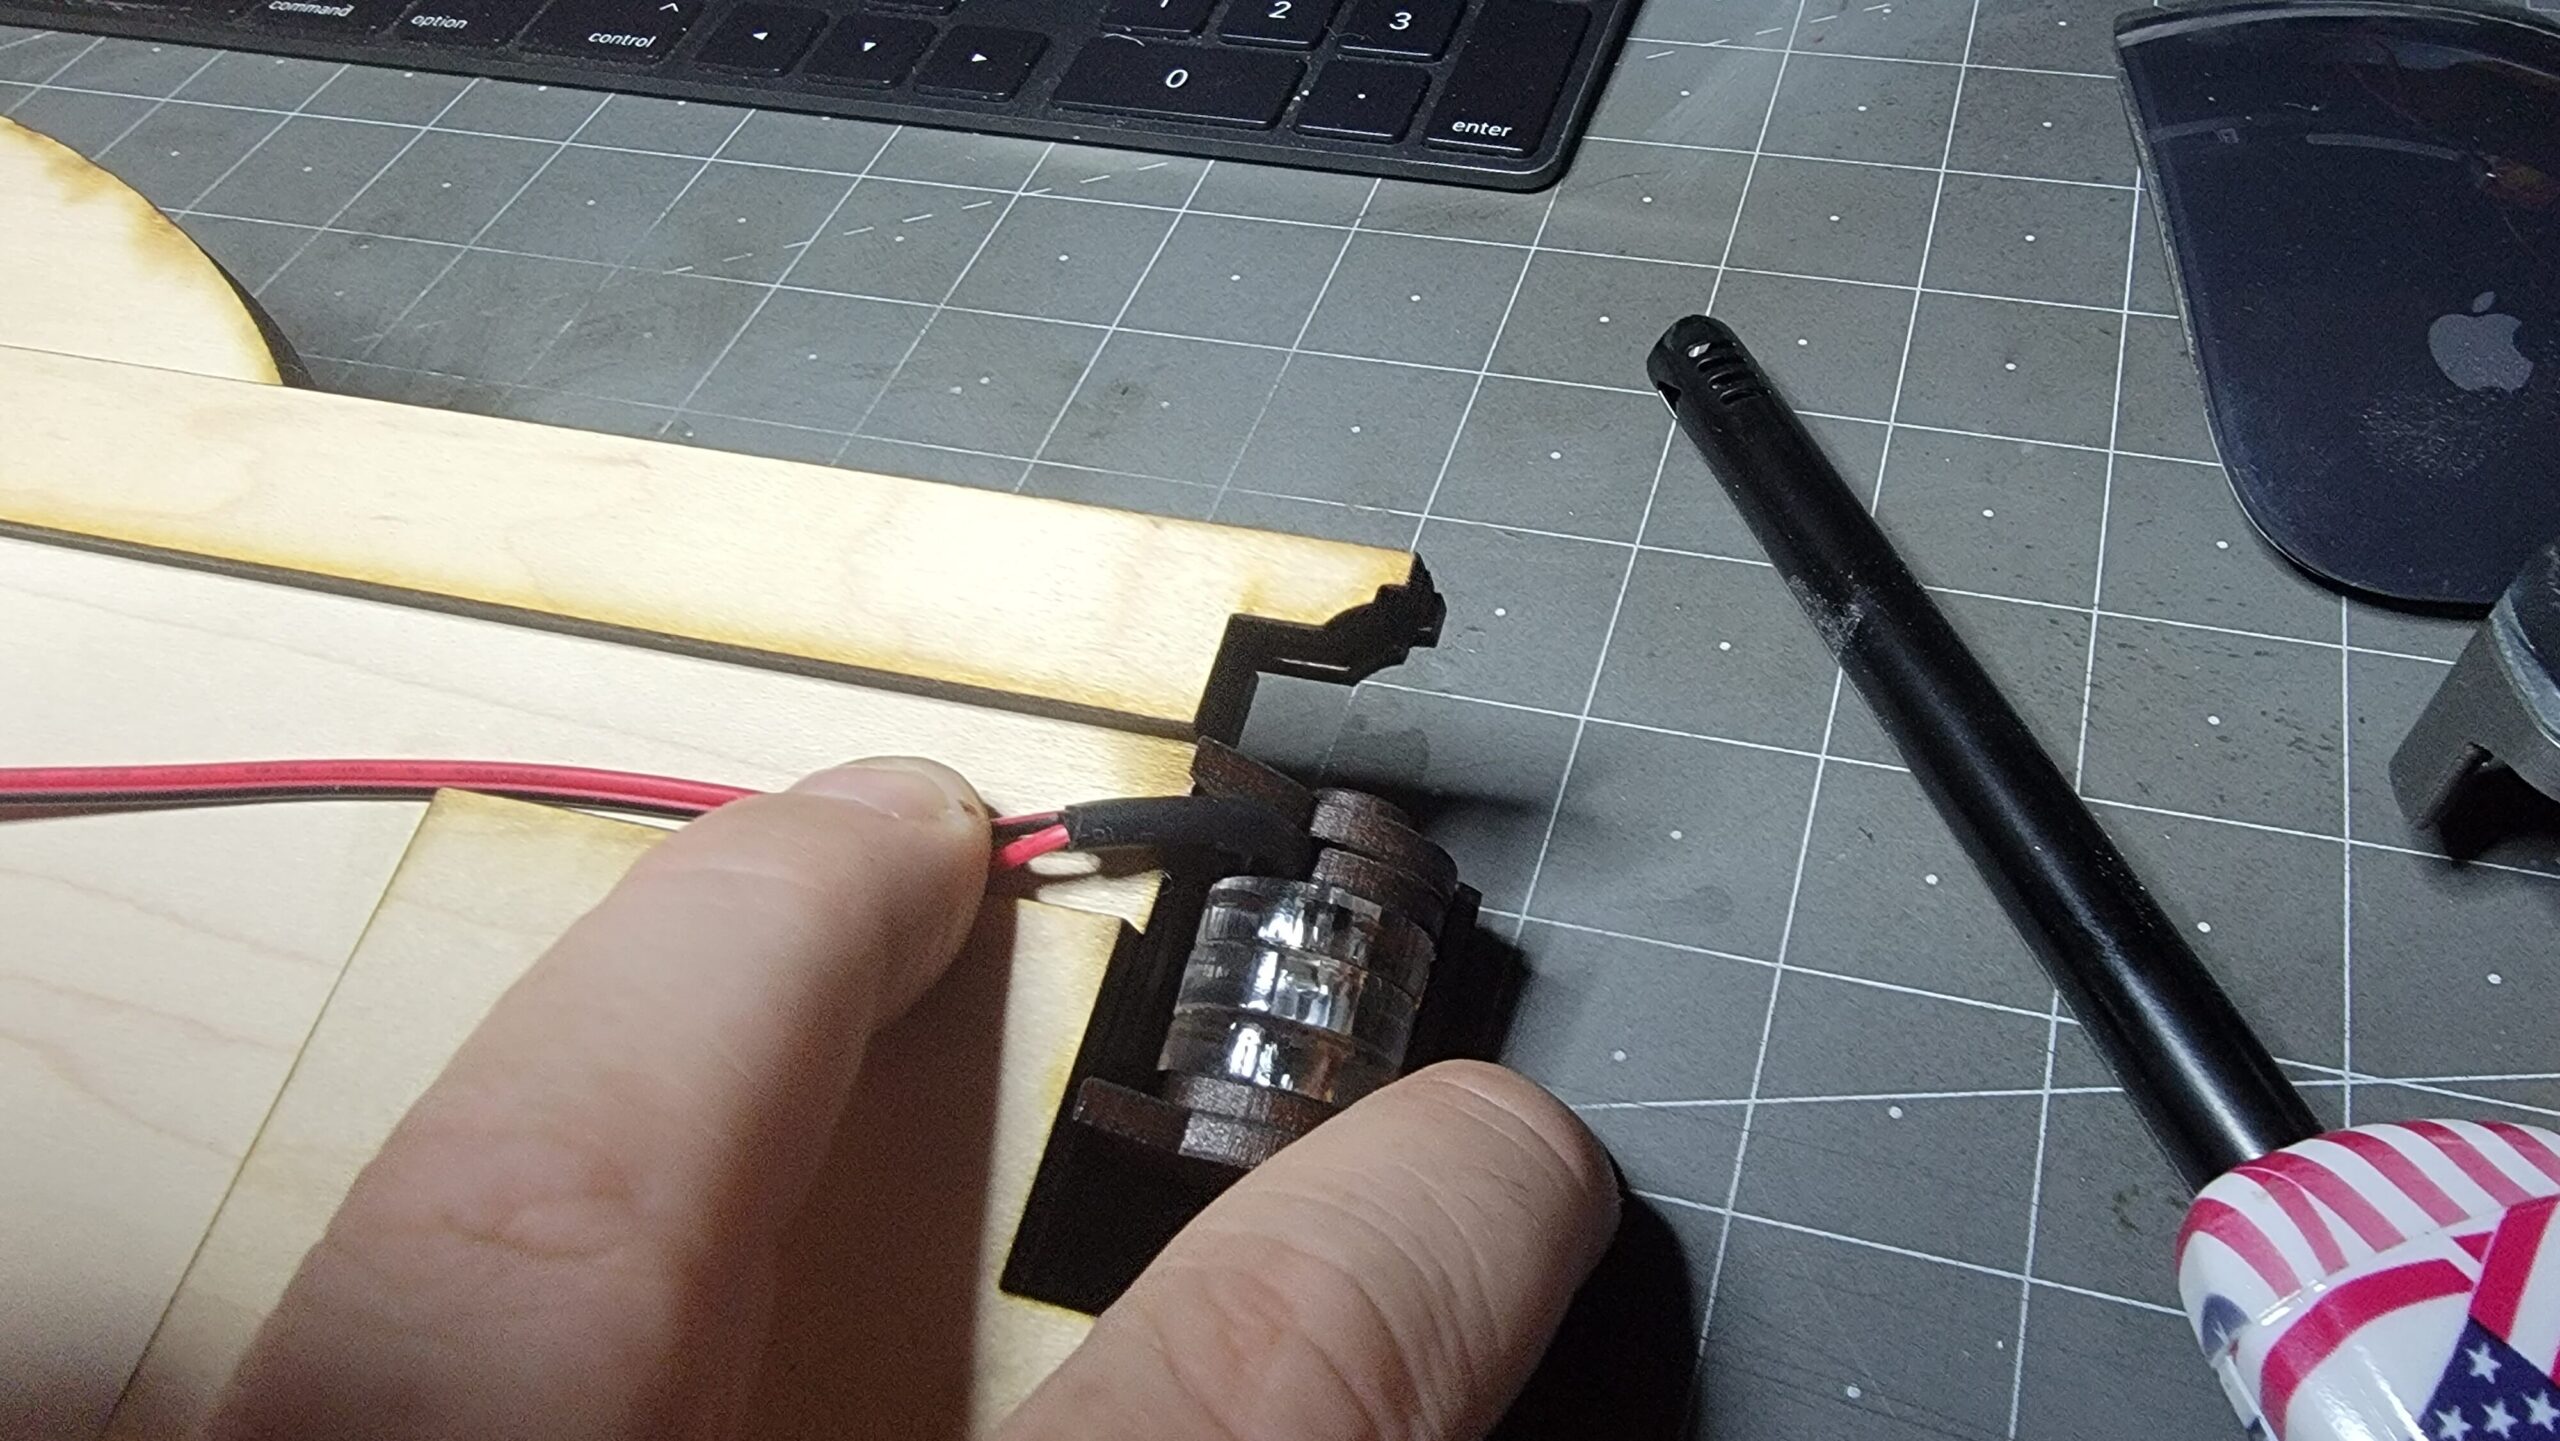
Then, carefully bend the wire down so it’s basically flat against the back of the sign and hold in place where you just add the glue.
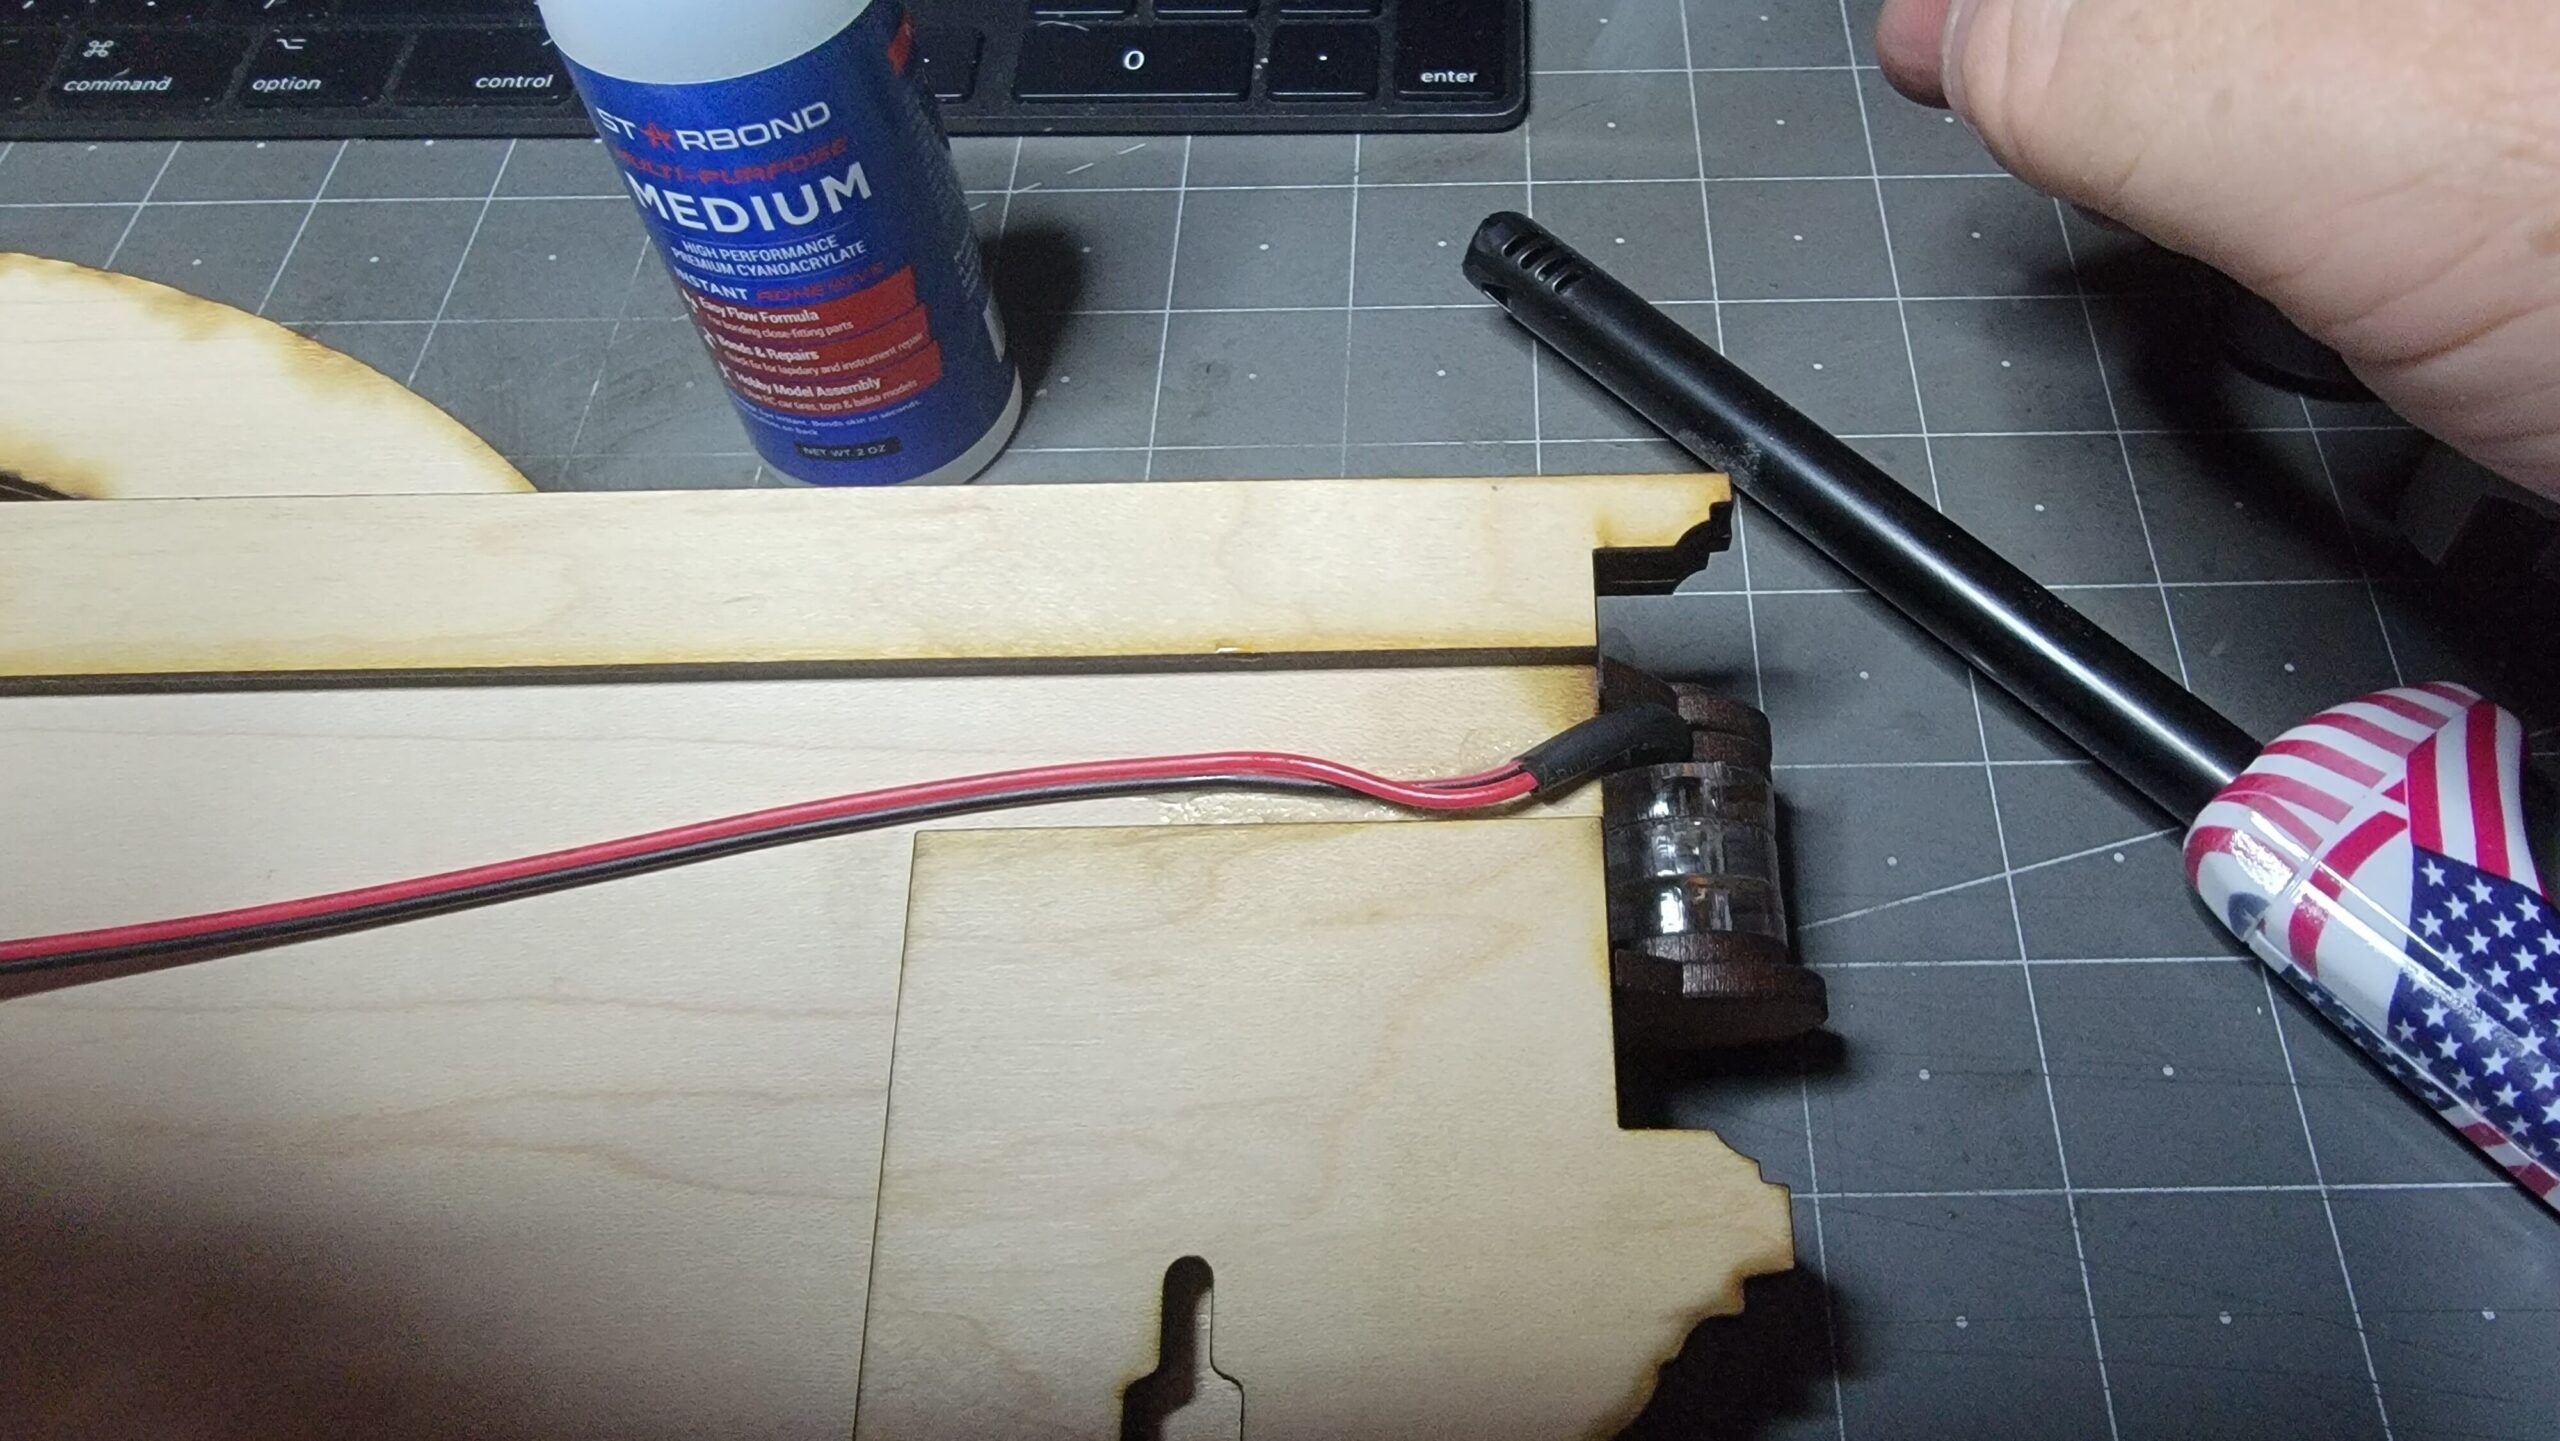
Ensure you have repeated this step on the opposite side and that the wires are being held in place by the glue.
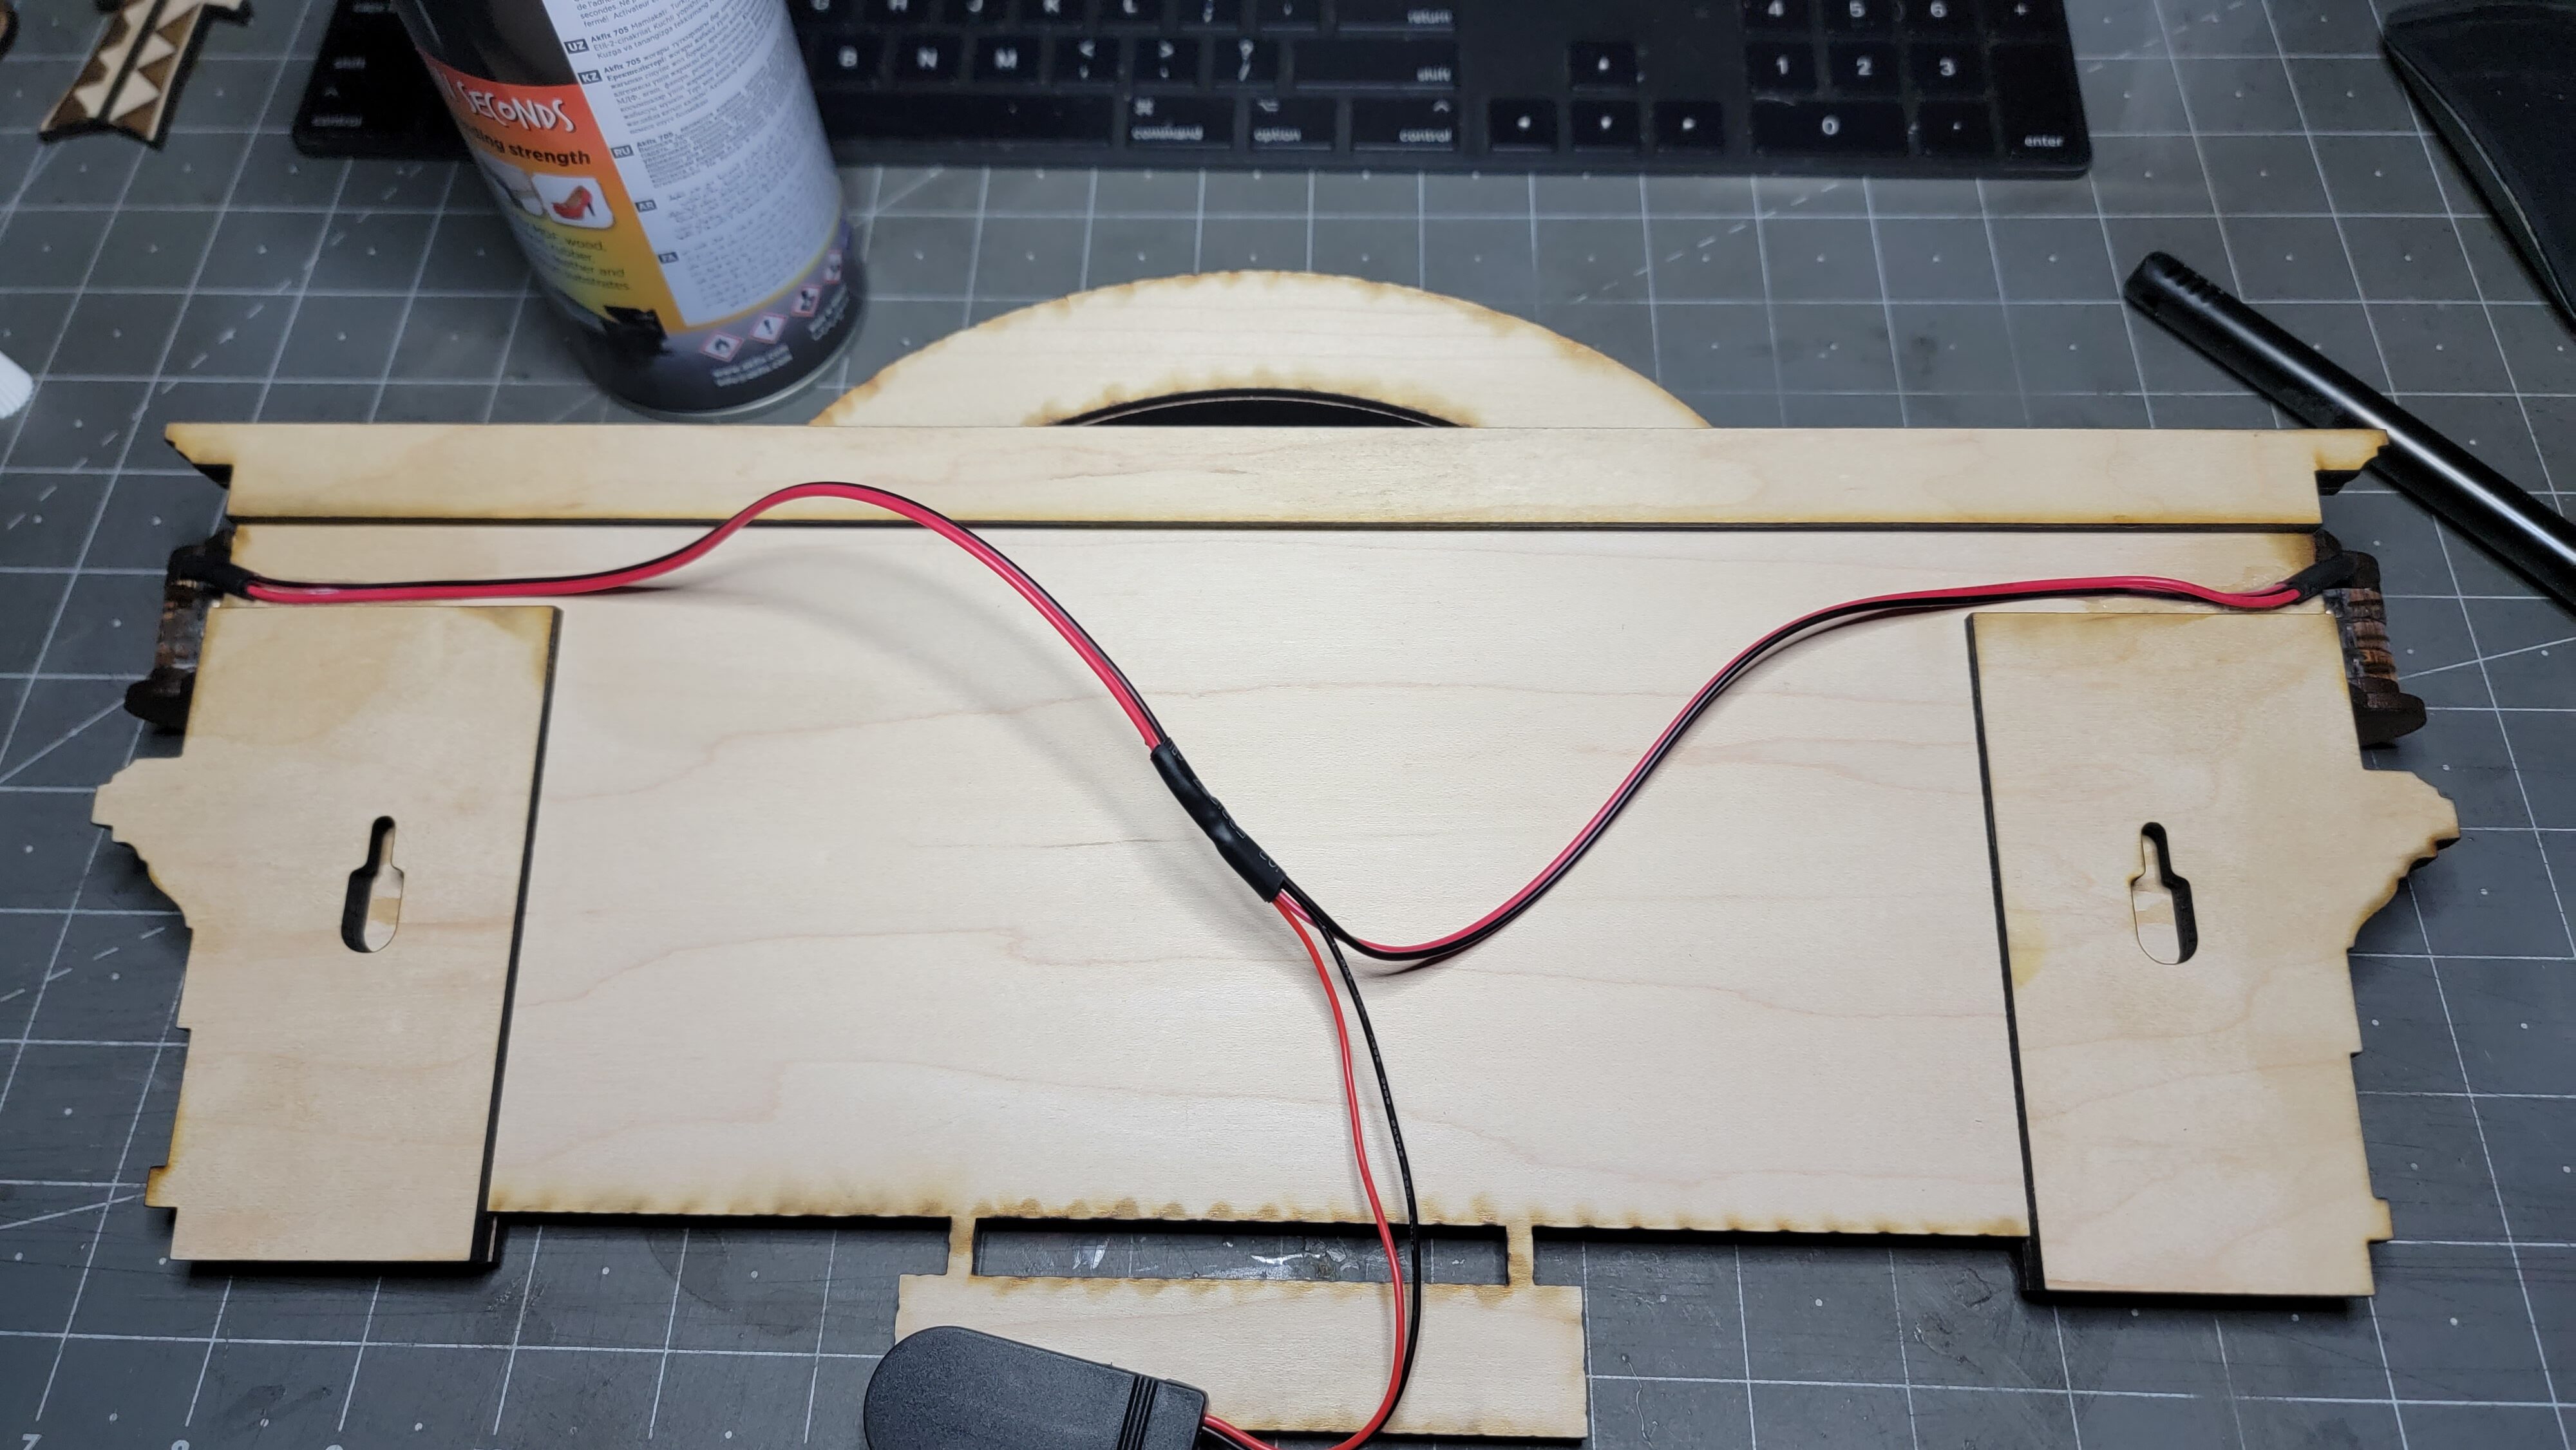
The wires towards the middle of the sign should still be loose.
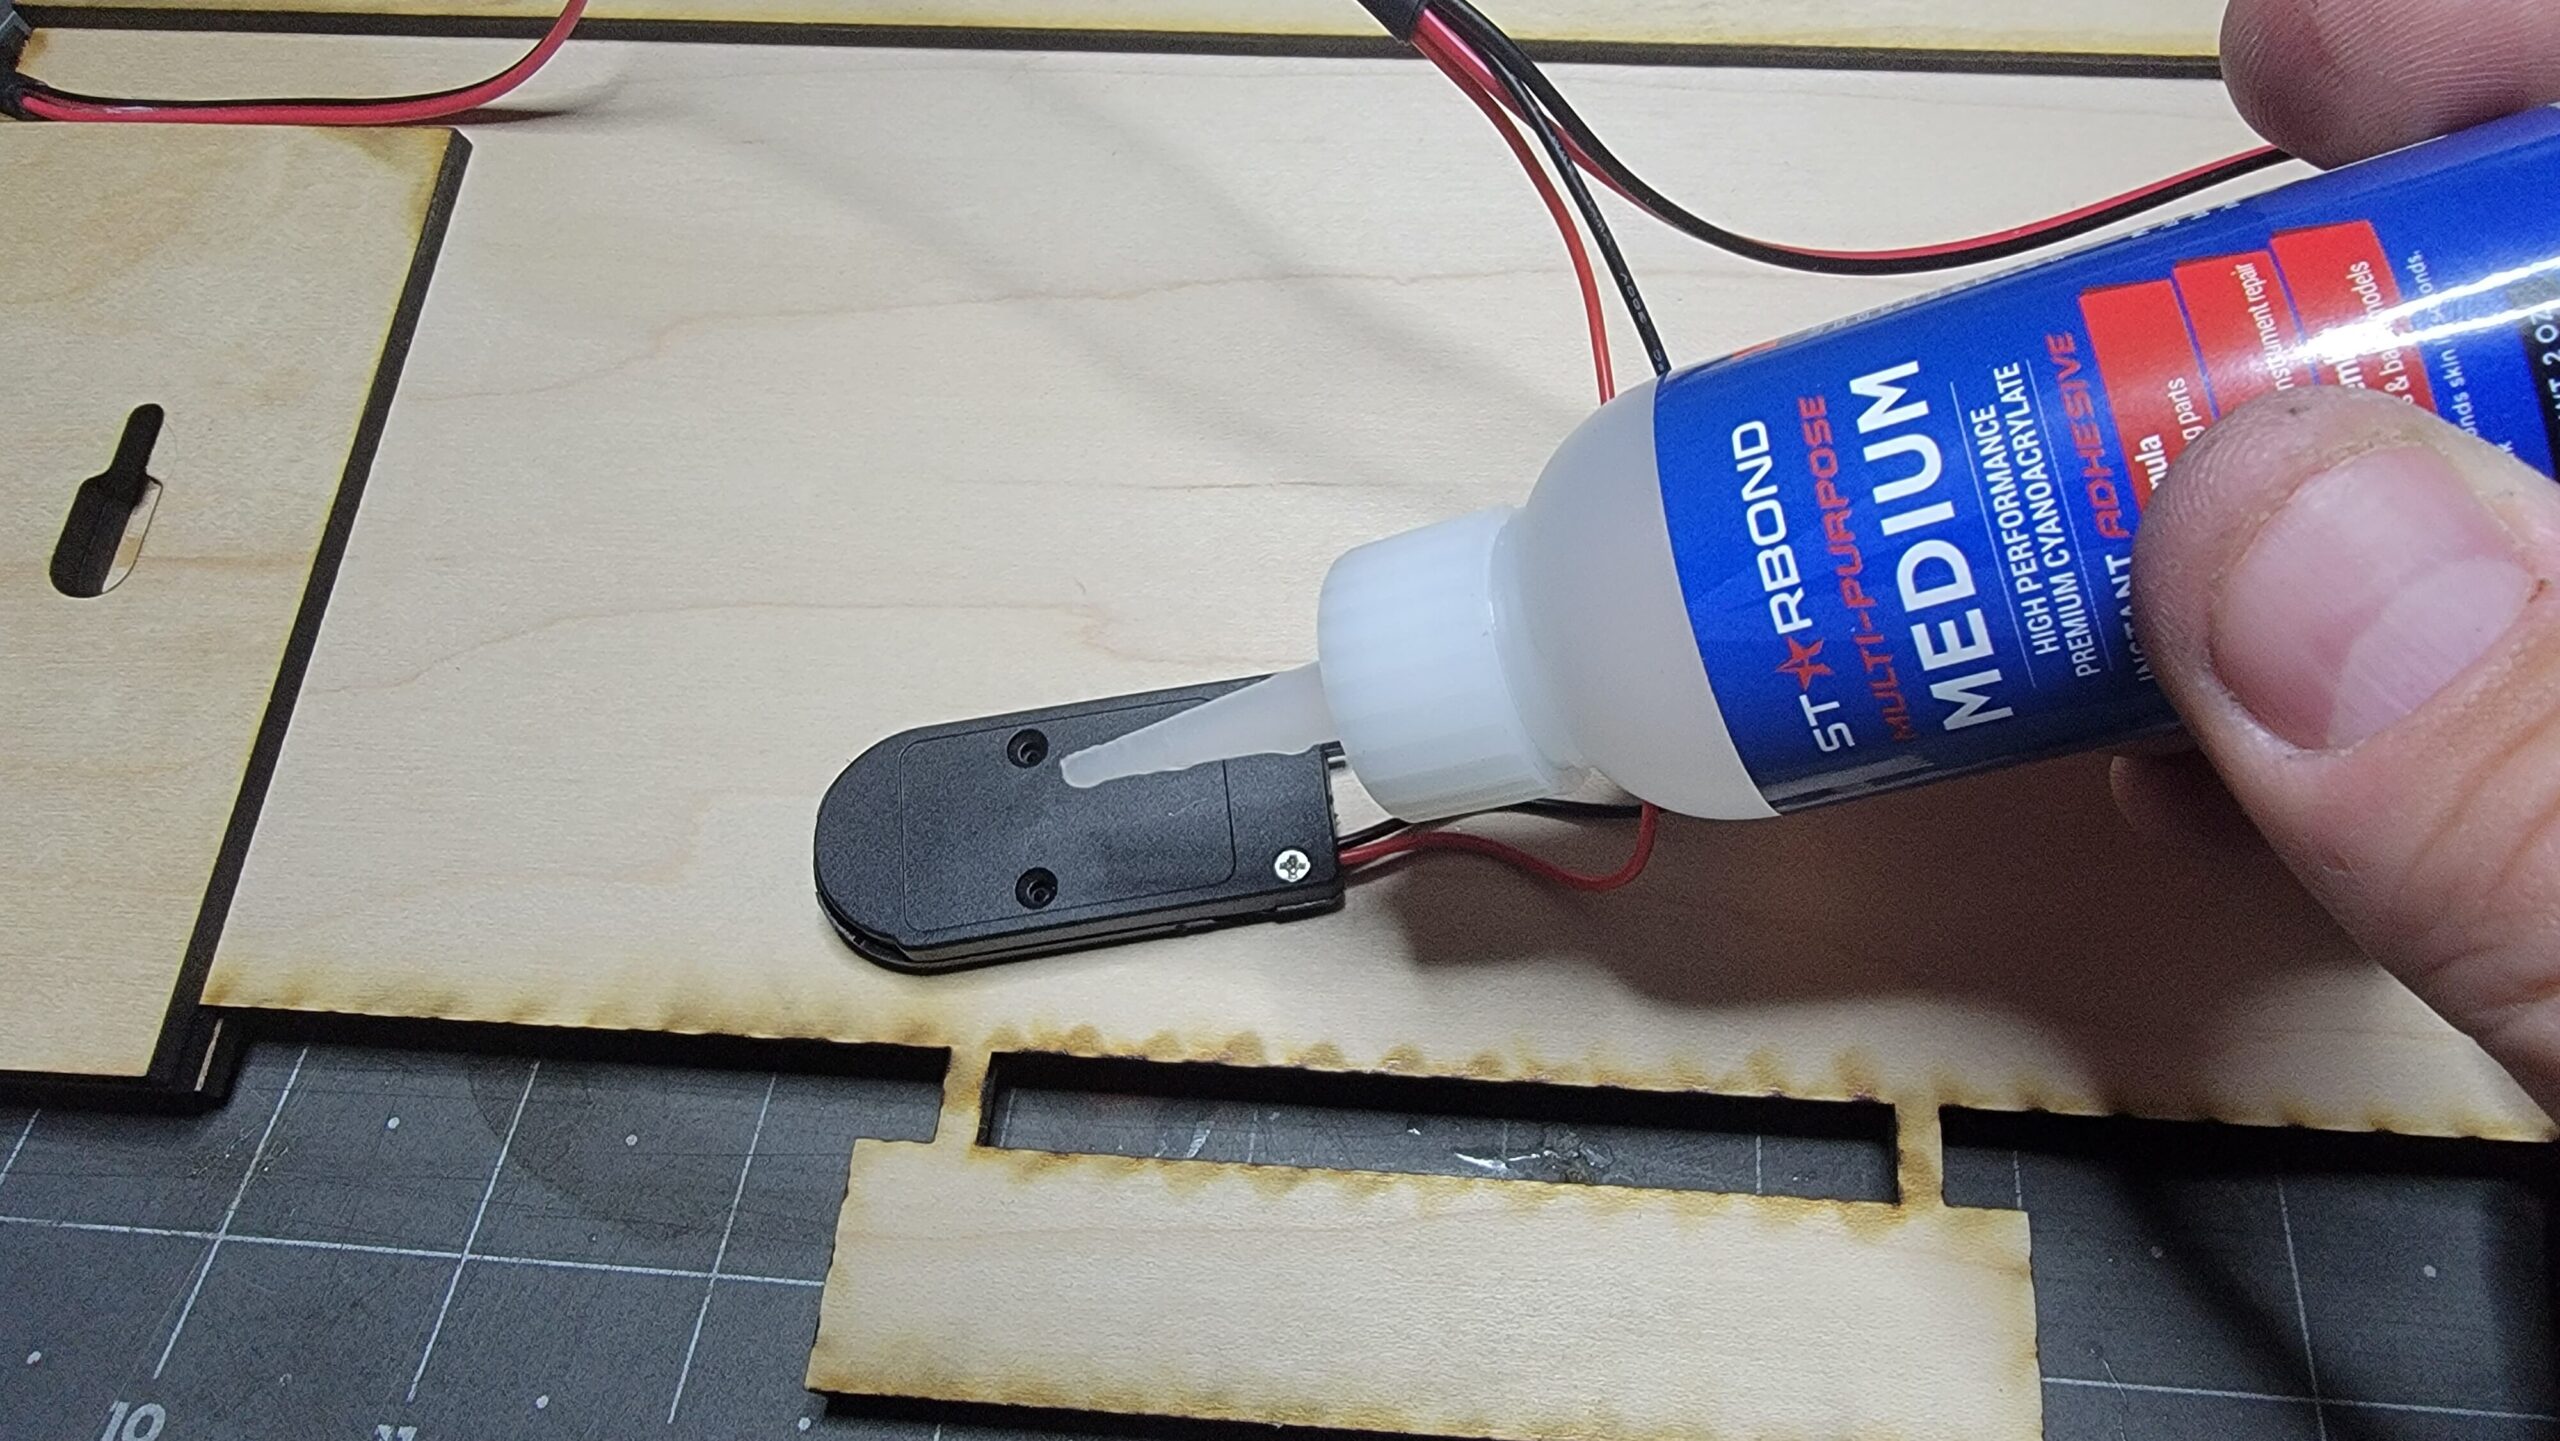
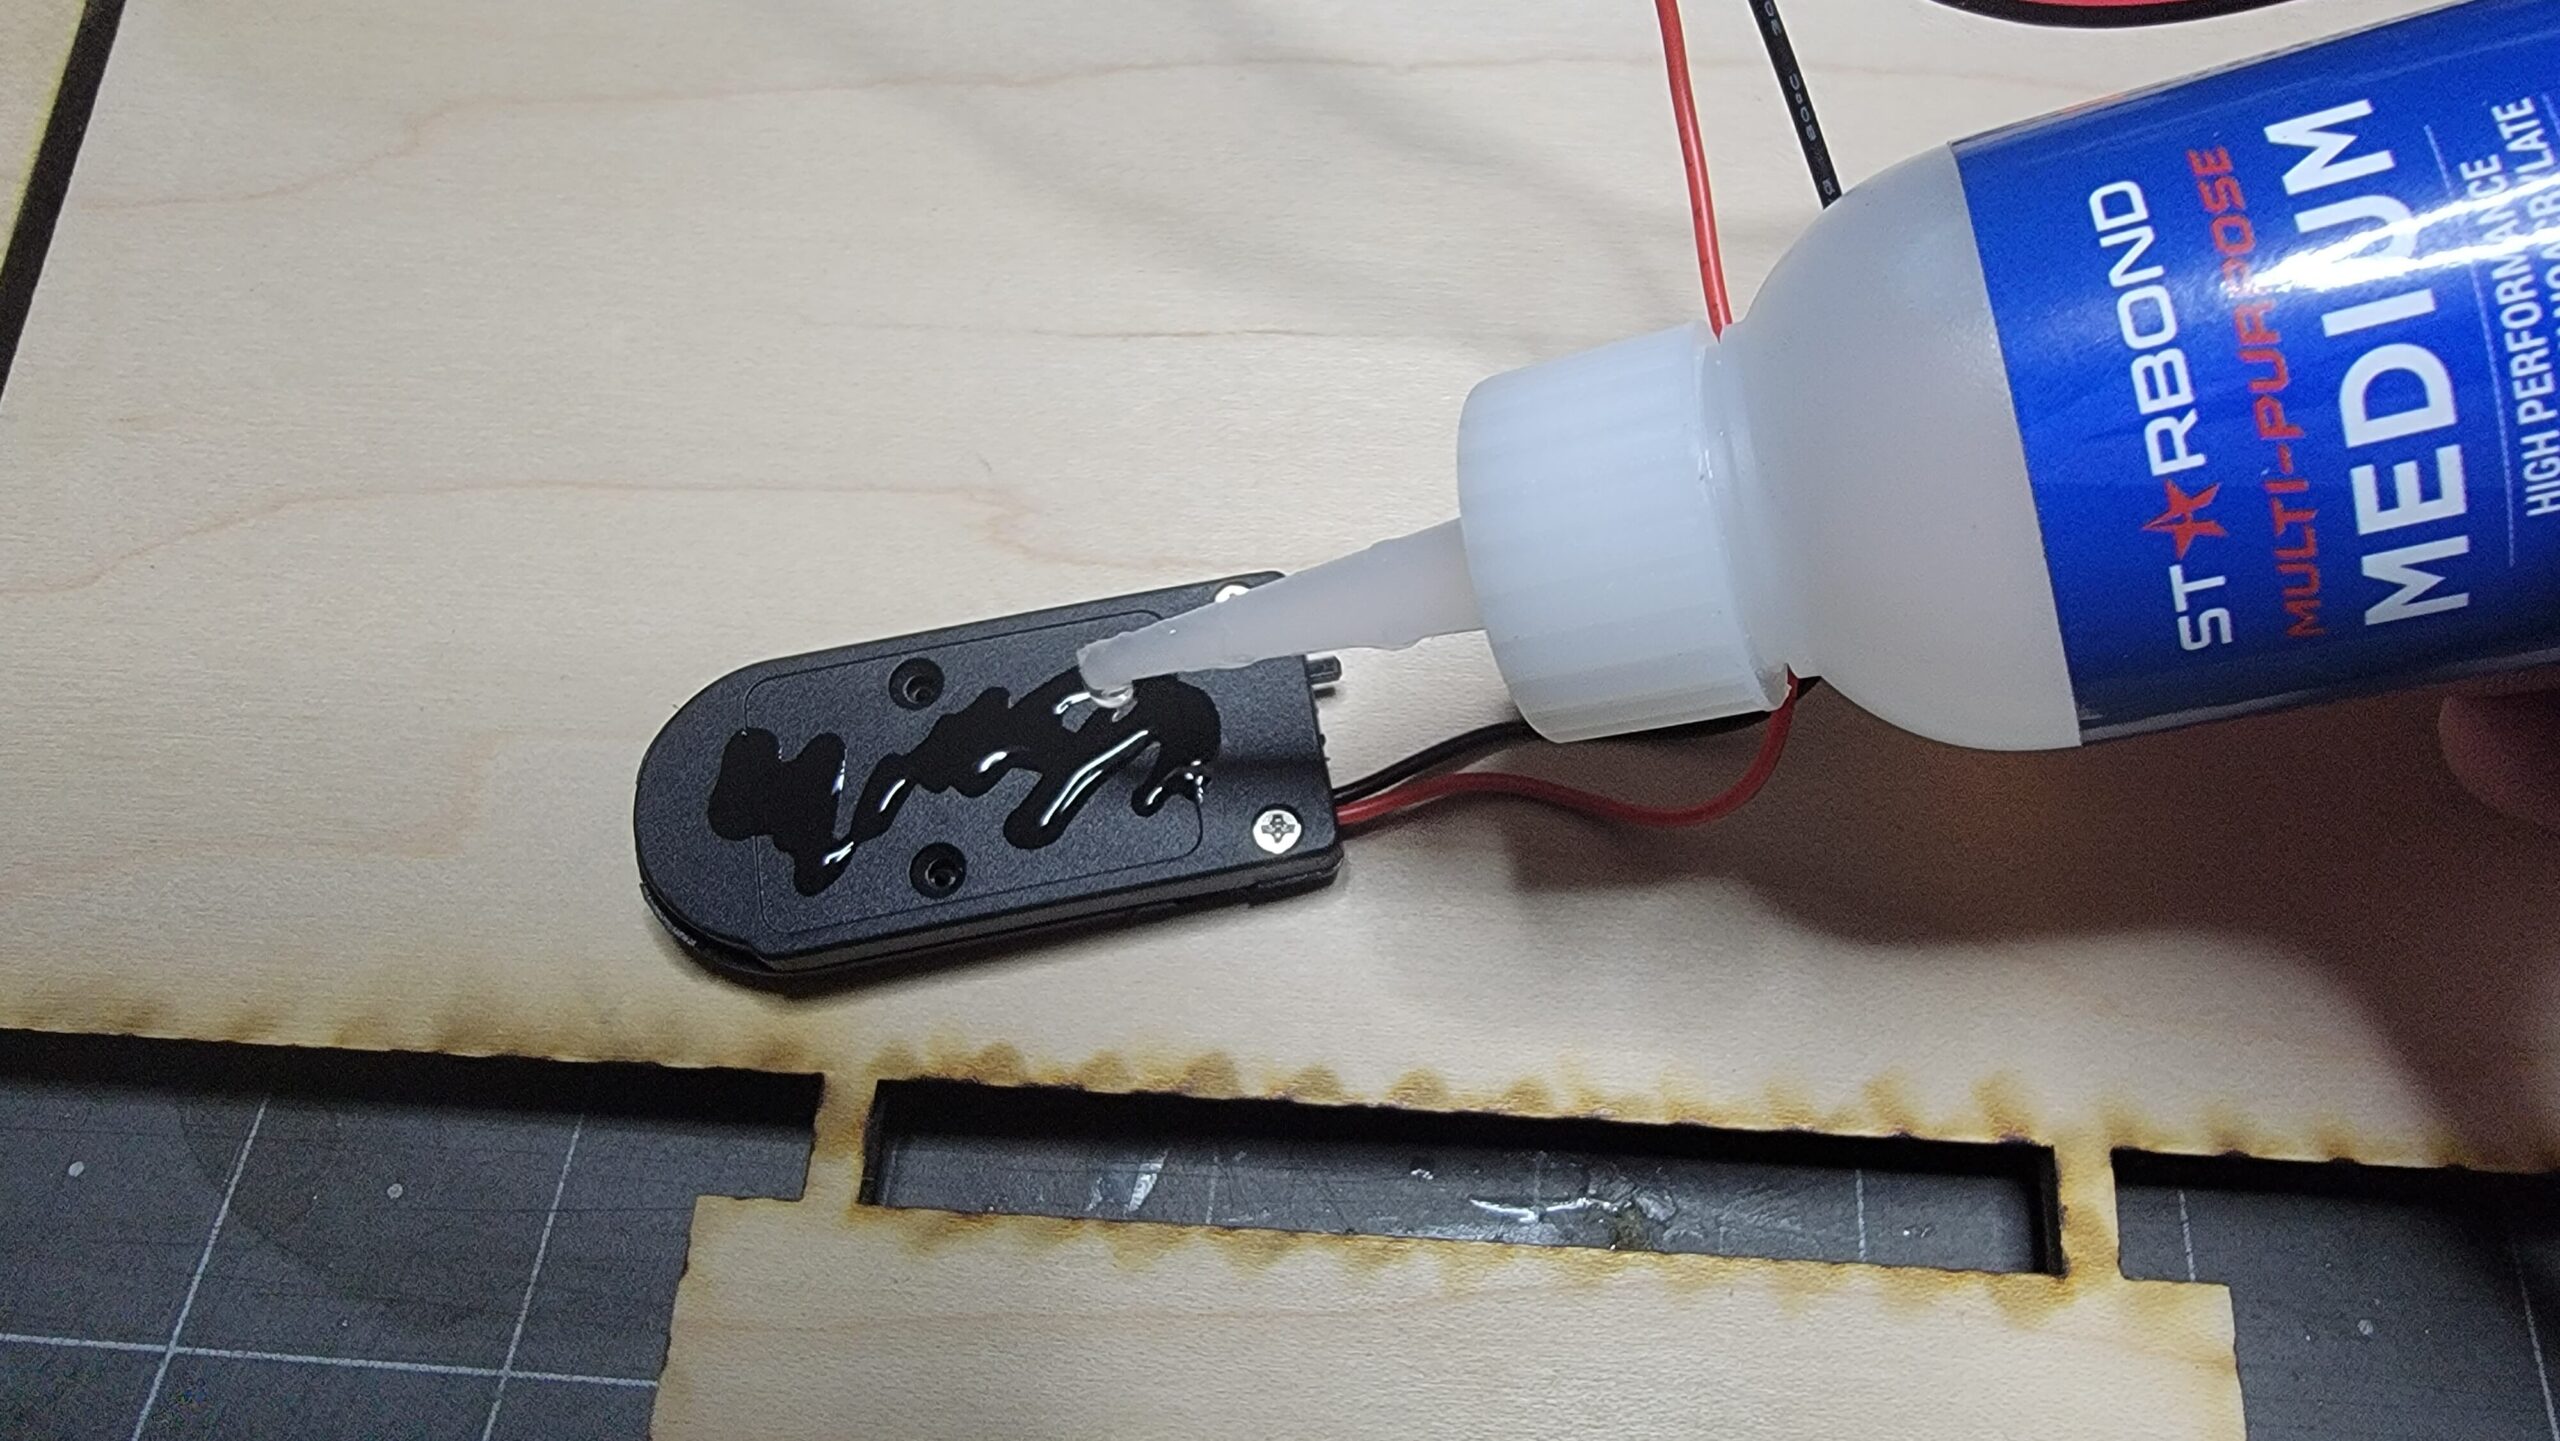
Next, you’ll add glue to the back of the battery compartment.
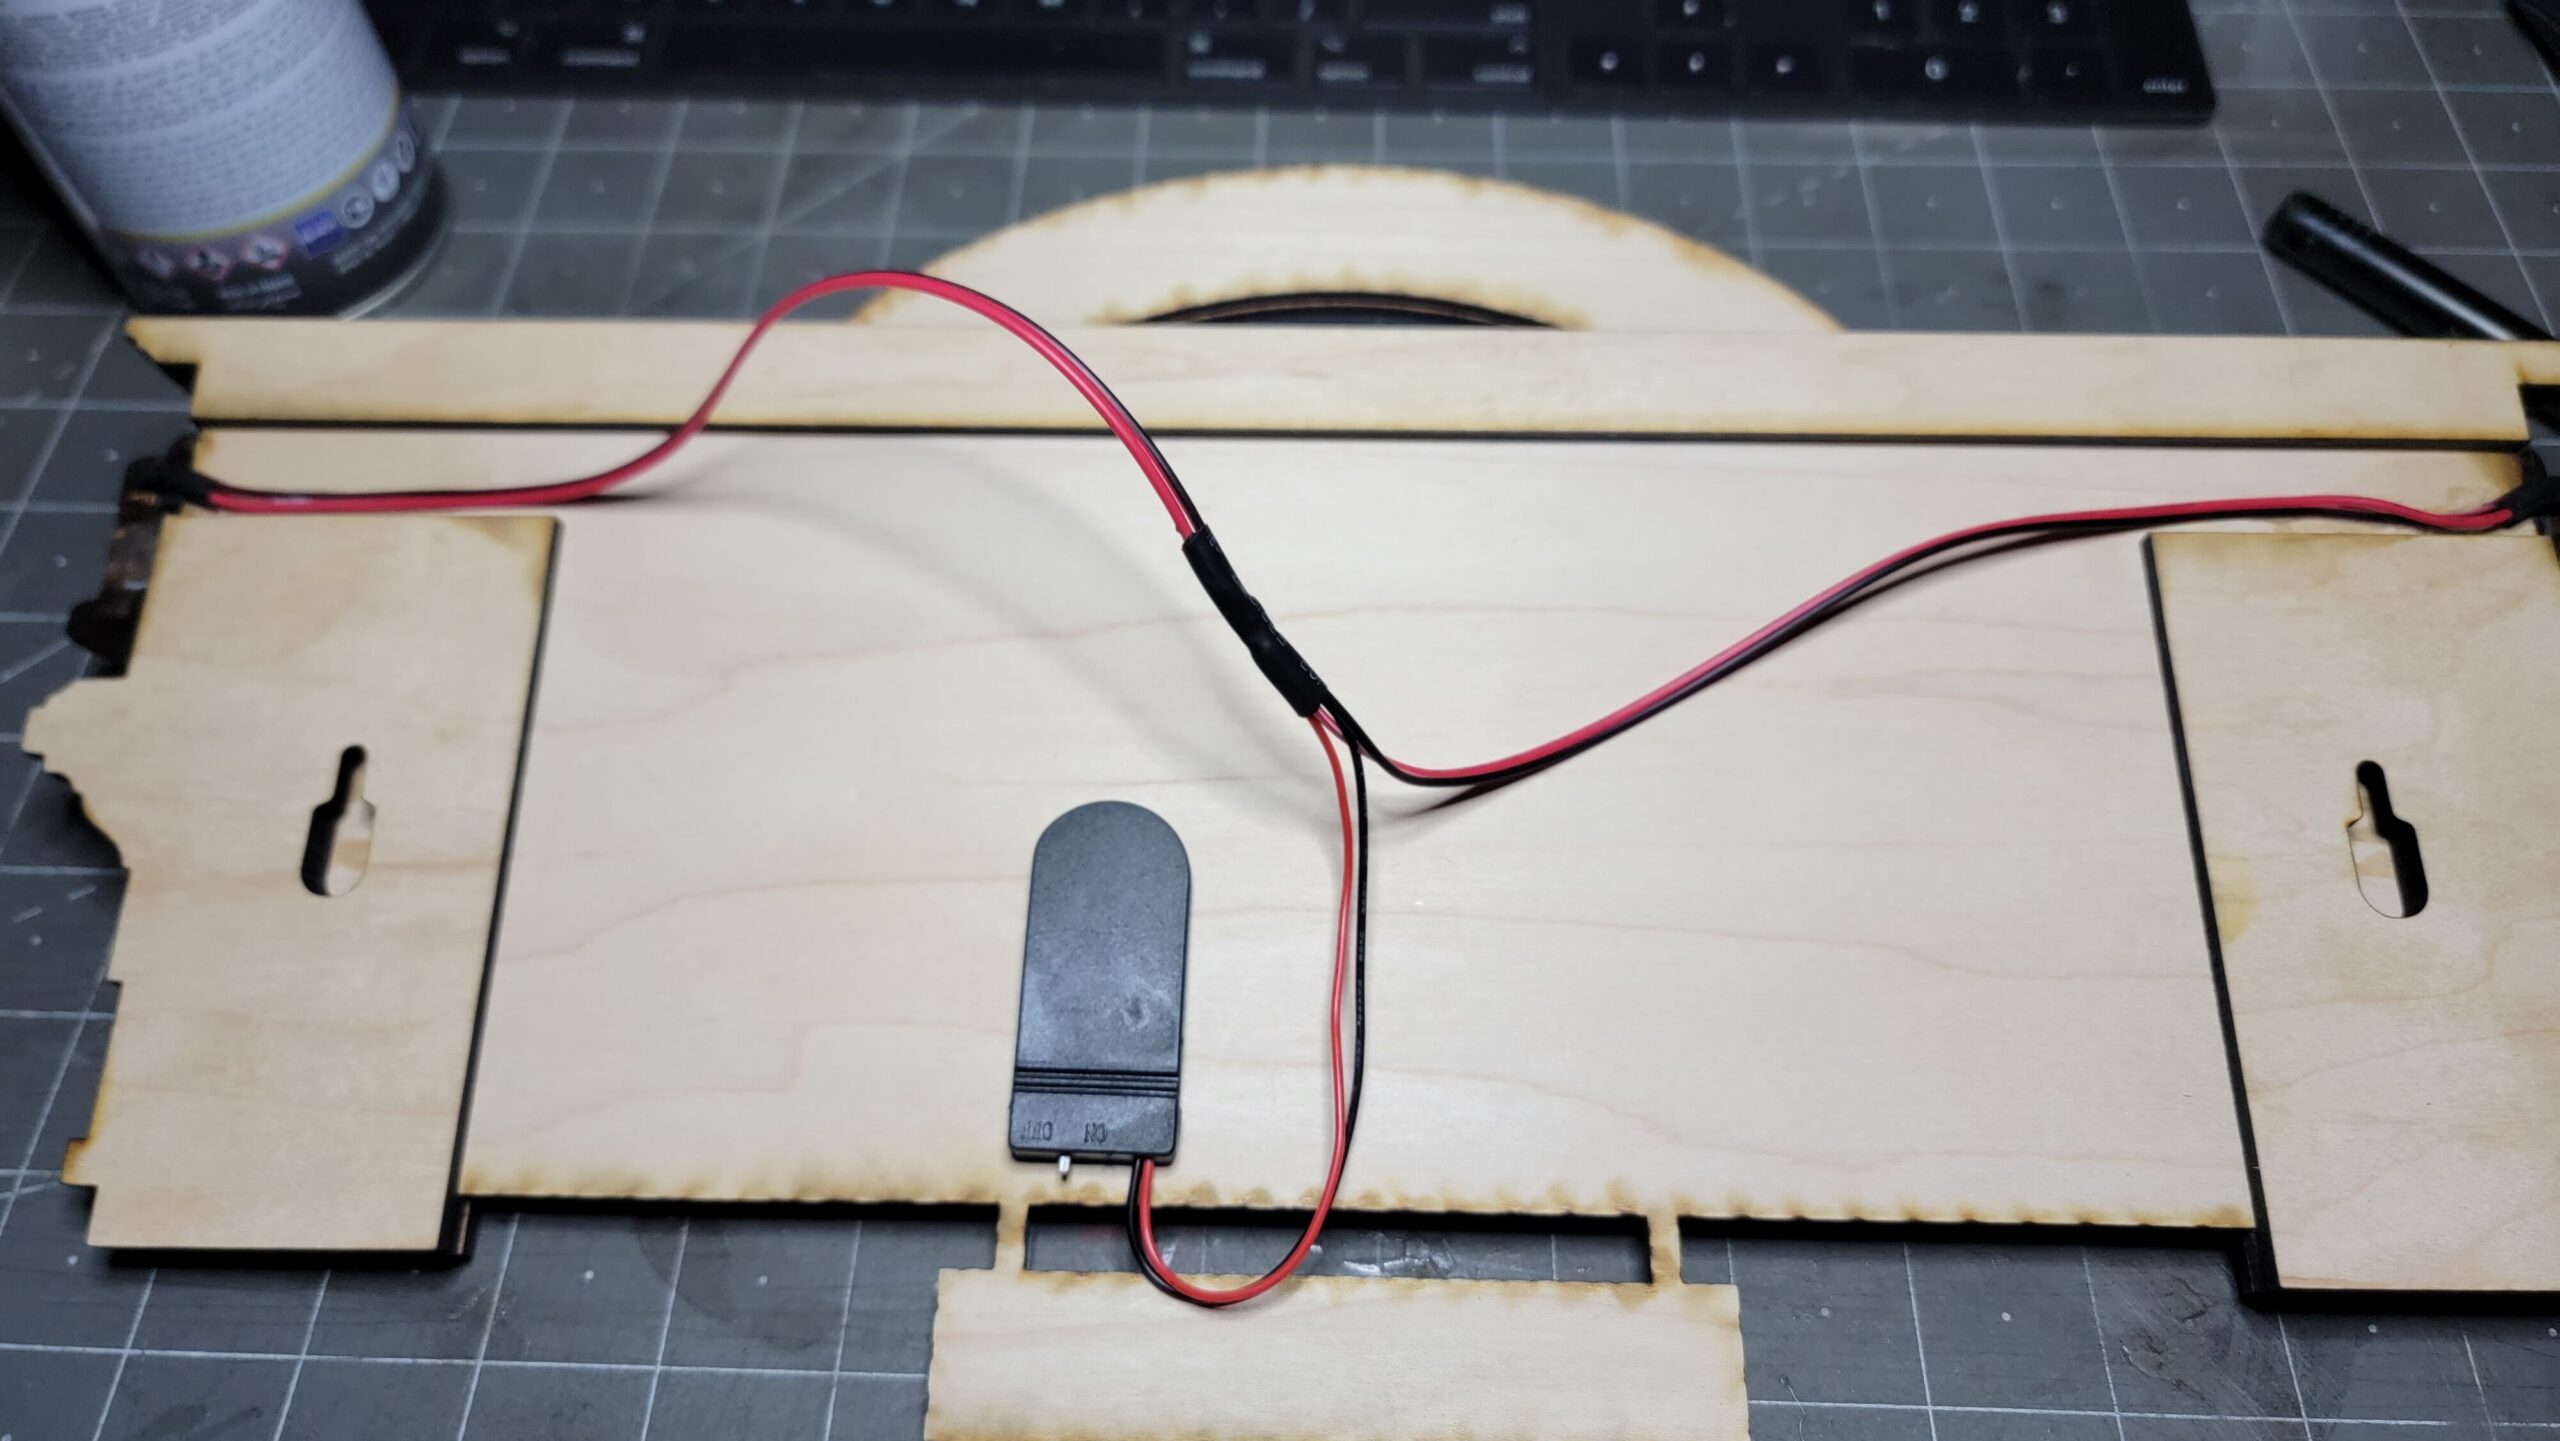
Hold the battery compartment down to the center back on the sign but slightly towards the left where the bottom of the sign hangs down a bit. Hold in place until it wont move anymore. (In some cases, when using super glue, you may want to use an activator/accelerator which will cause the glue to dry instantly.)
Ensure the battery compartment is facing towards the bottom, so that the off/on switch can easily be accessed with your finger from the bottom of the sign.
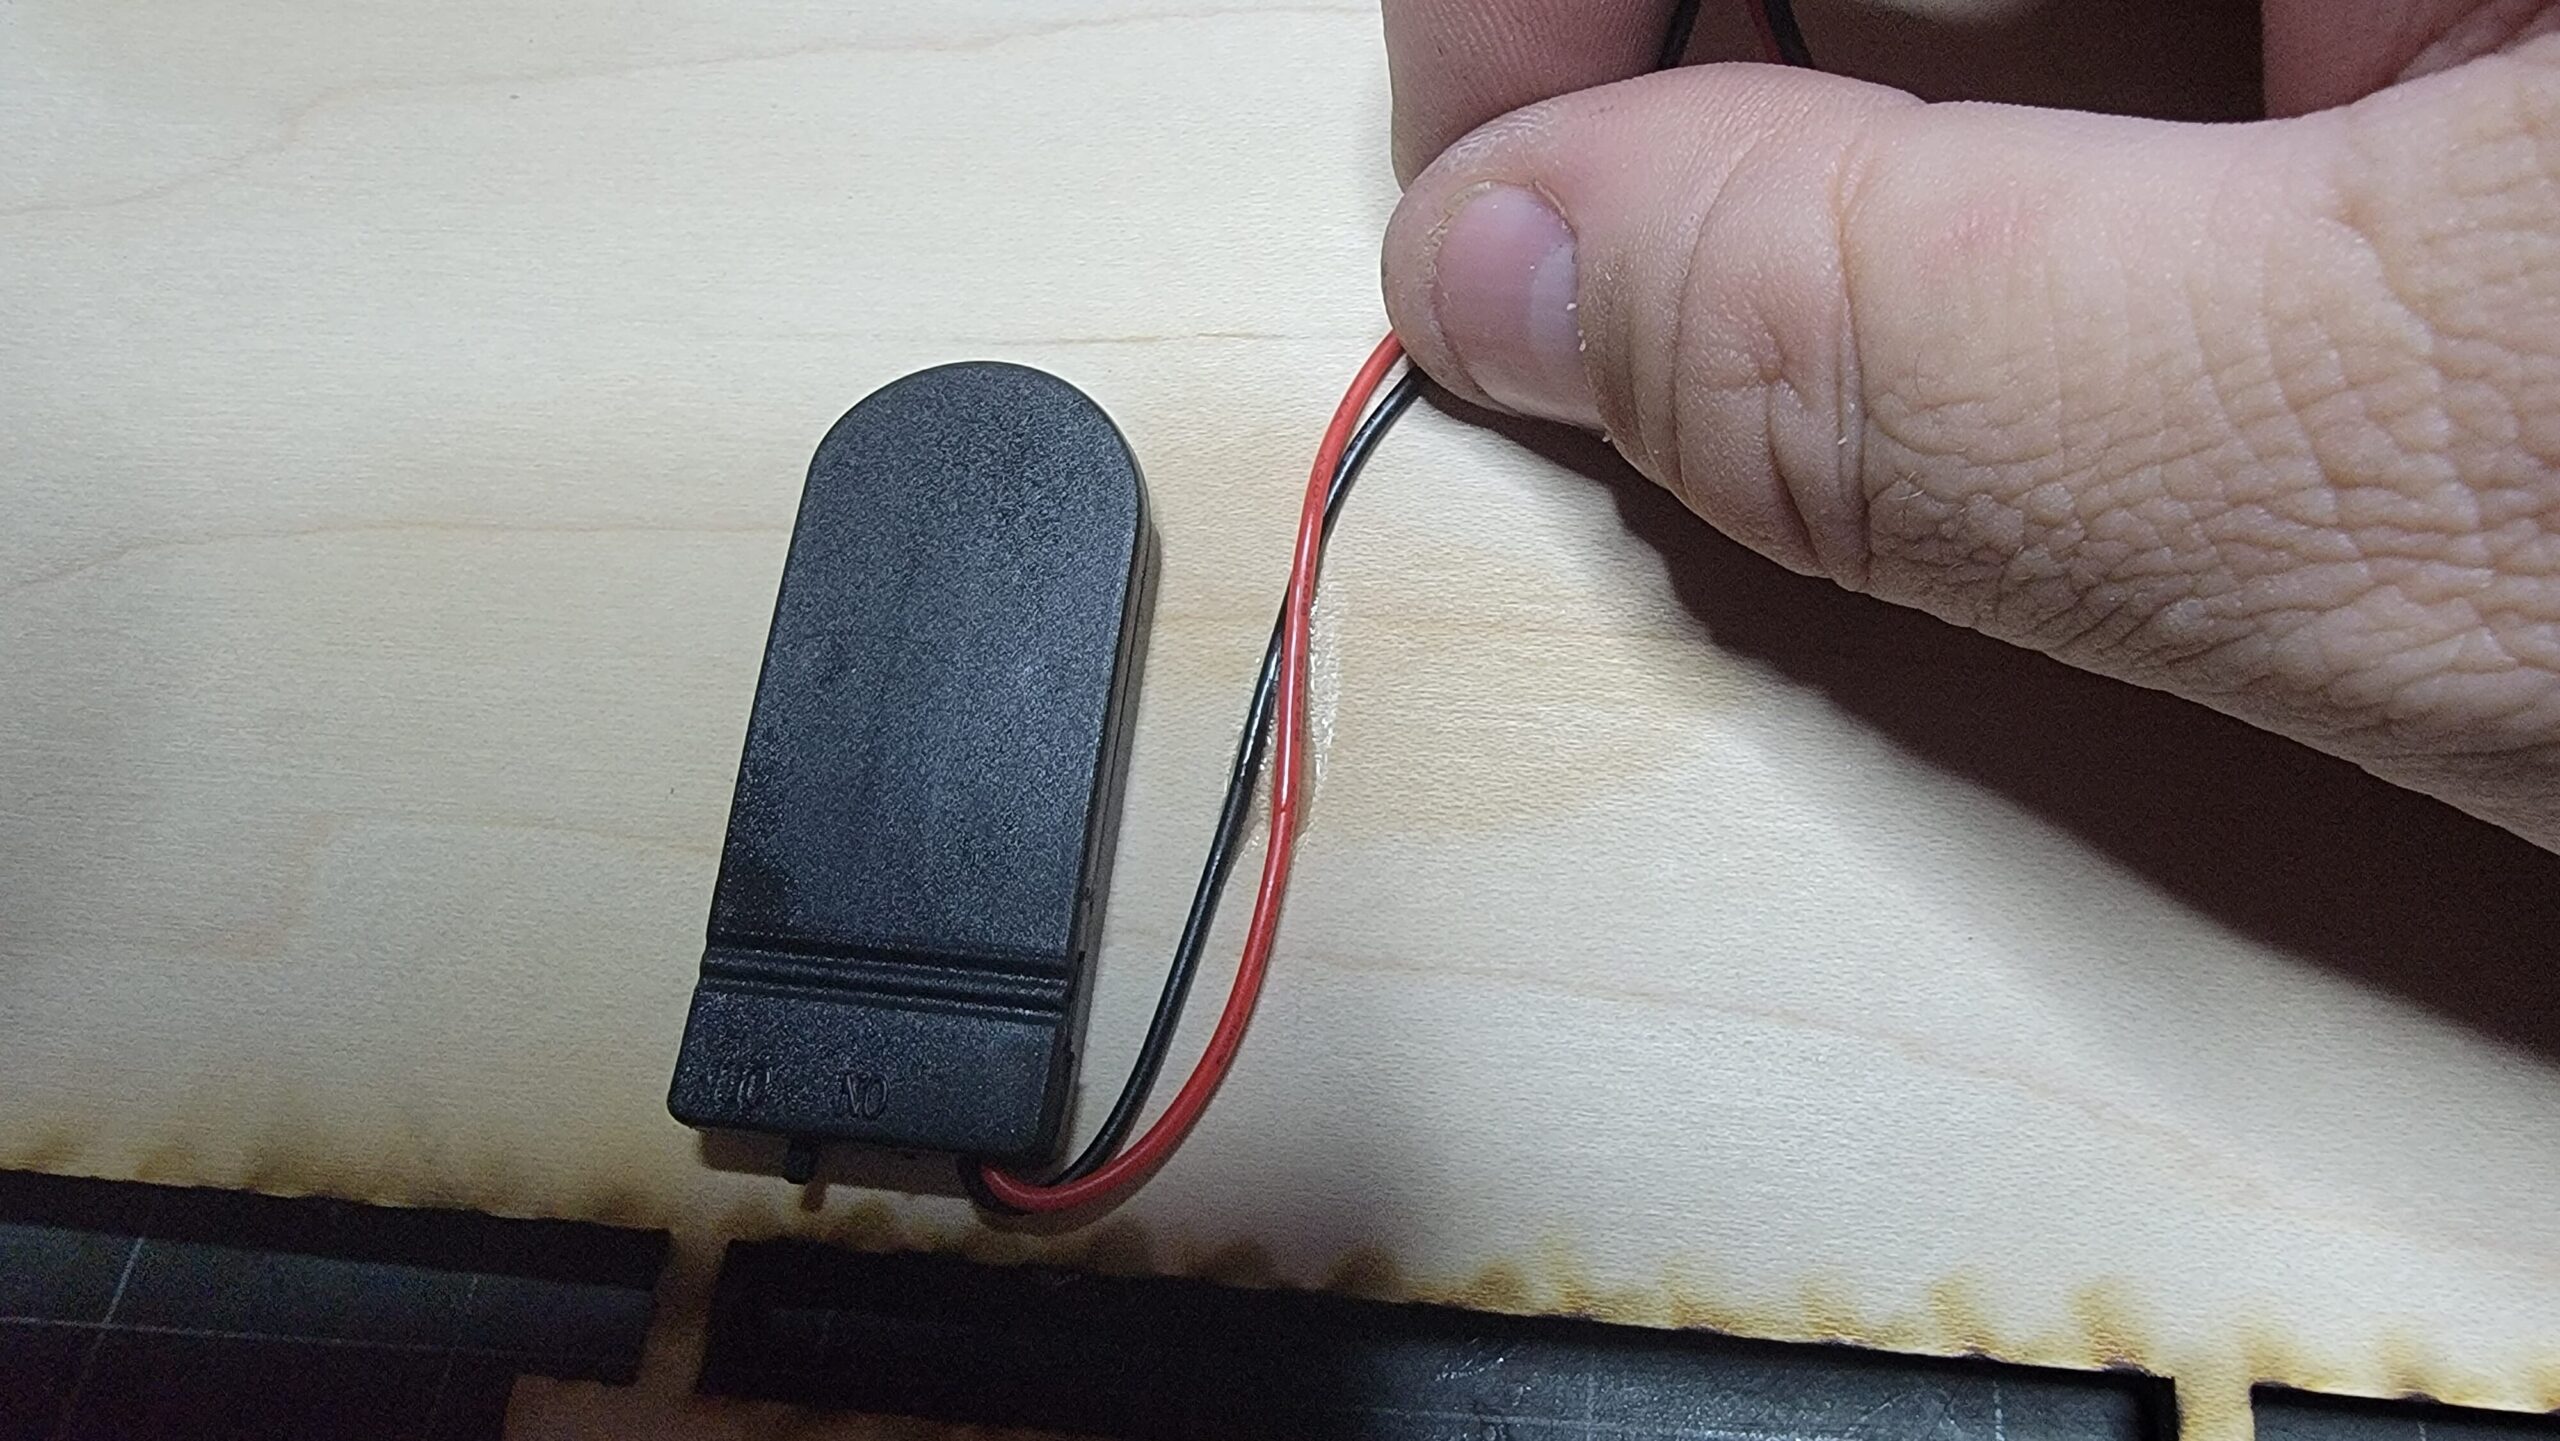
Next, you will need to pull the wires coming from the battery compartment up towards the center of the sign so that they are no longer visible from the front side. Then, glue them in place.
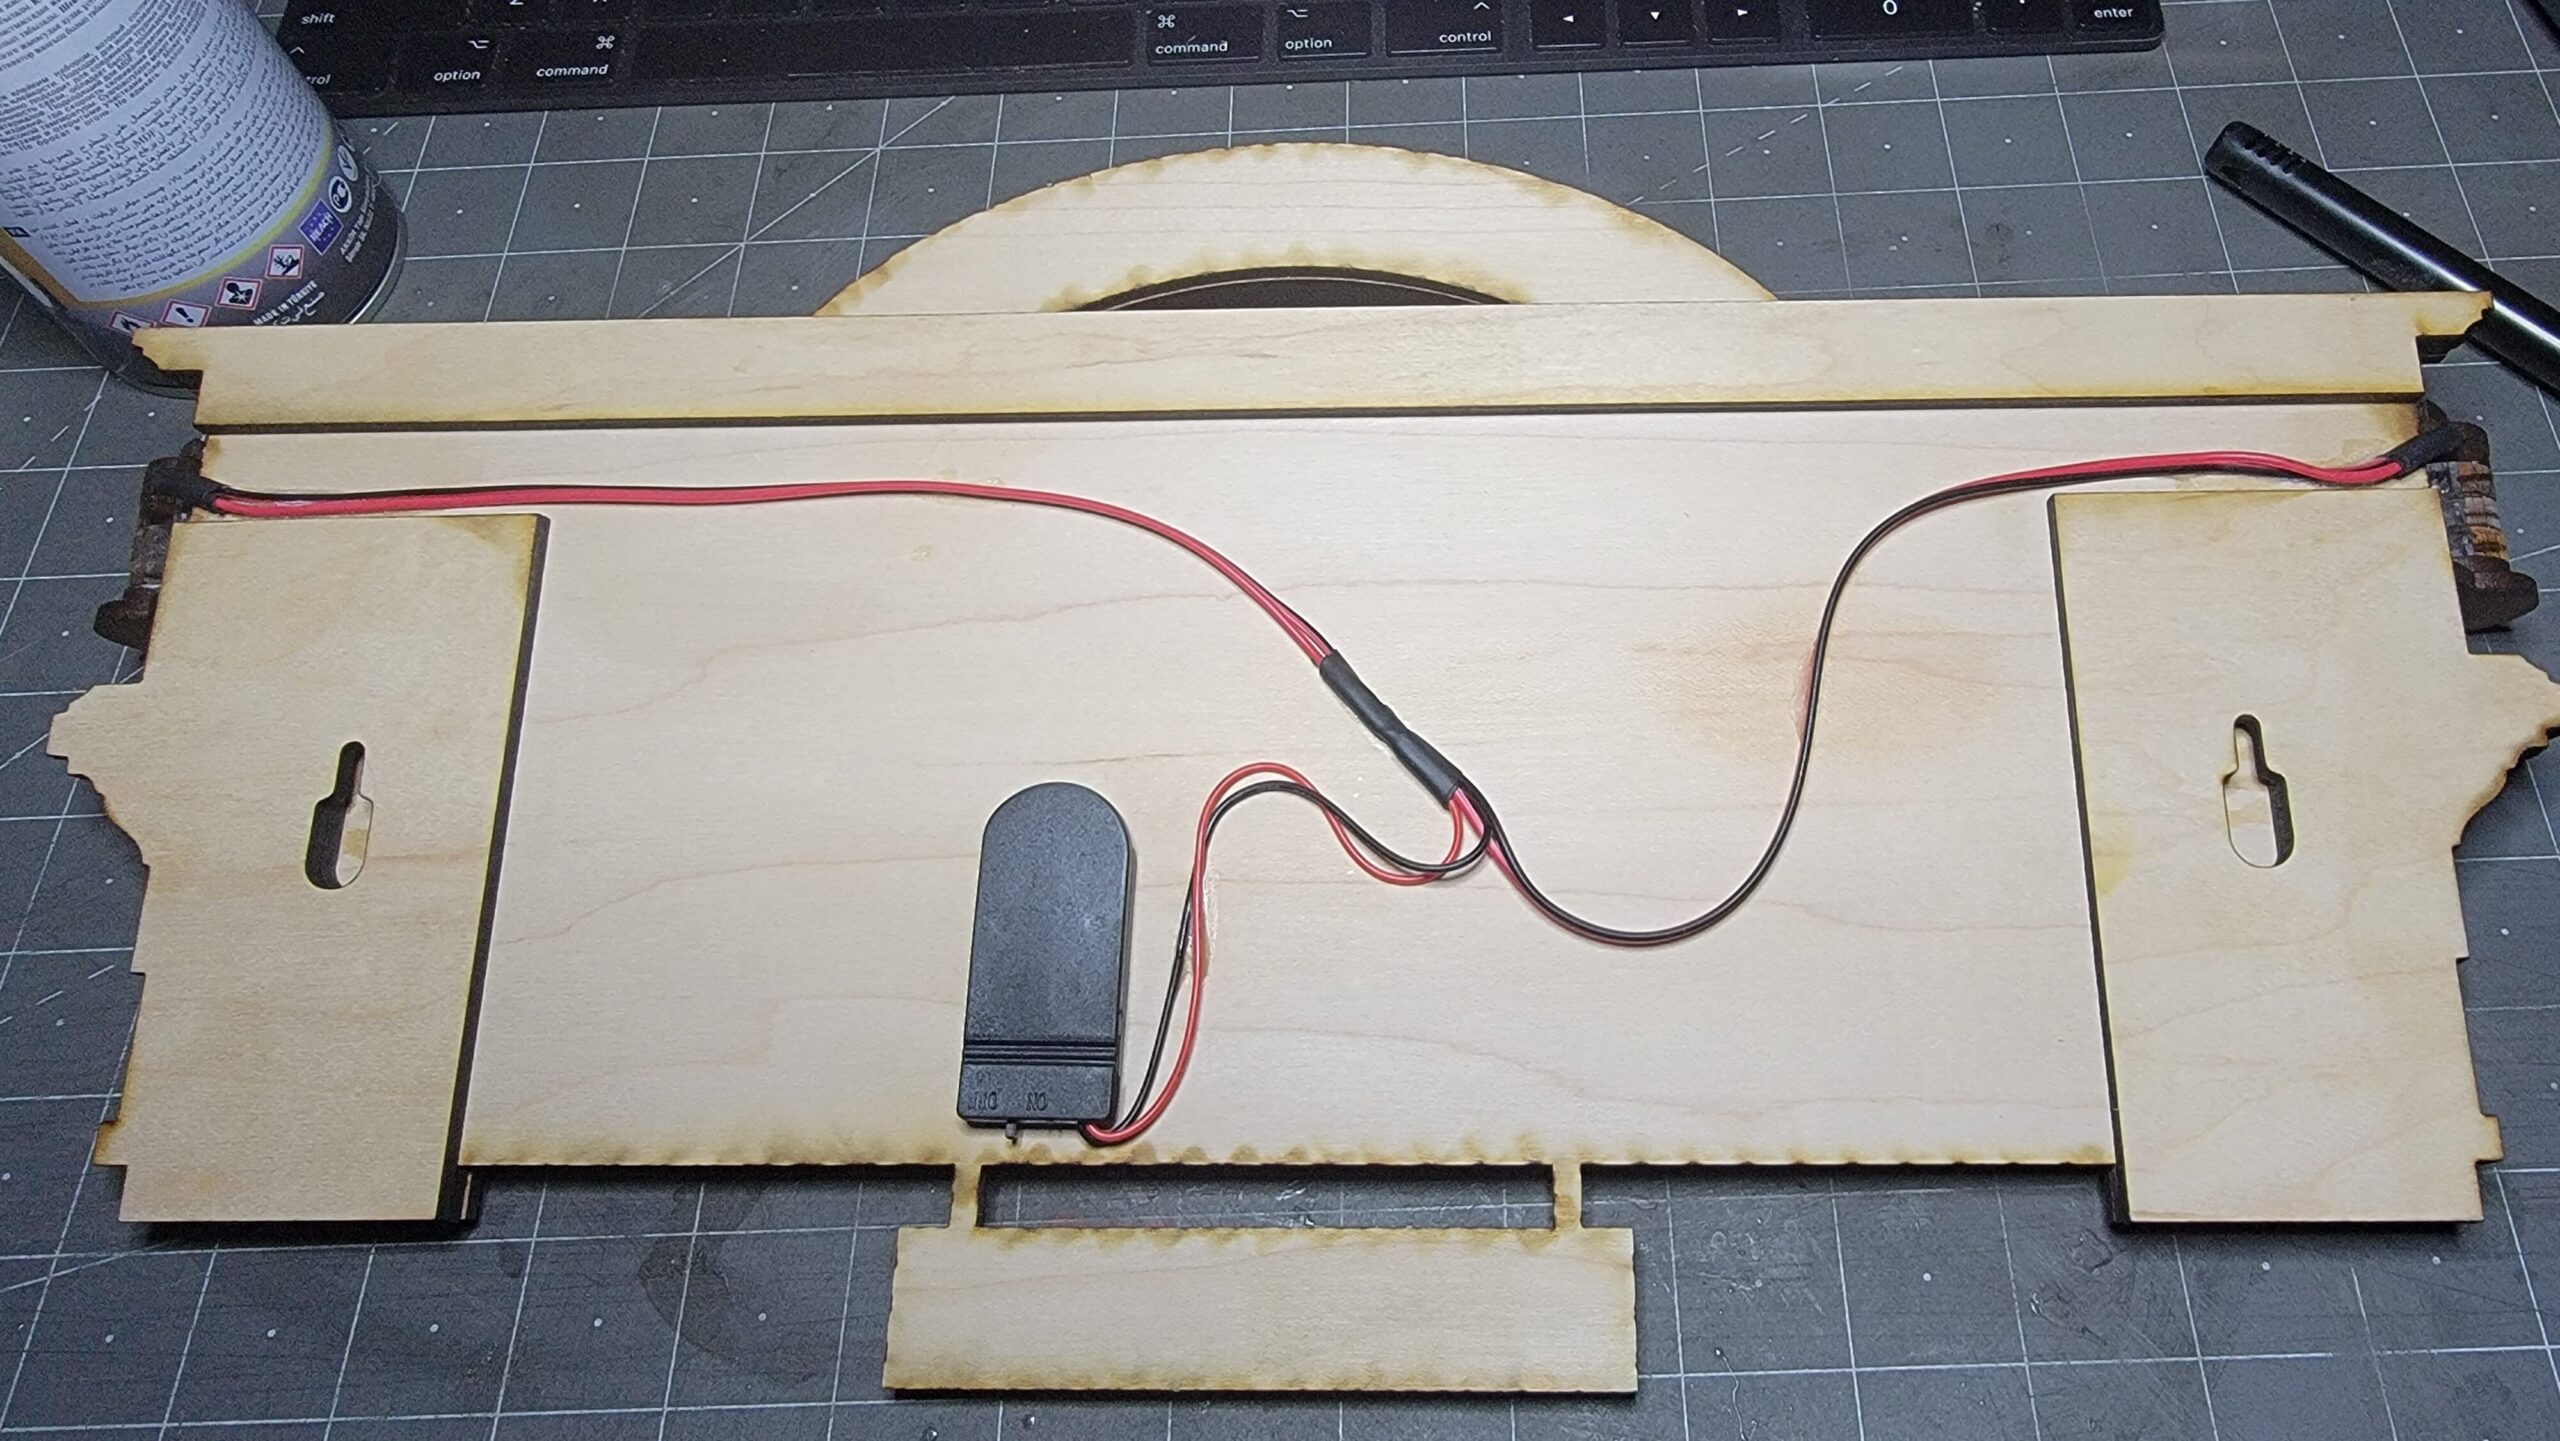
Lastly, glue the remaining loose wires down where they are naturally laying or where they will not get in the way of anything. It should look something like the image above.
Related Topics
Please check out these topics below for more help. However, if you have any further questions, feel free to contact me.
