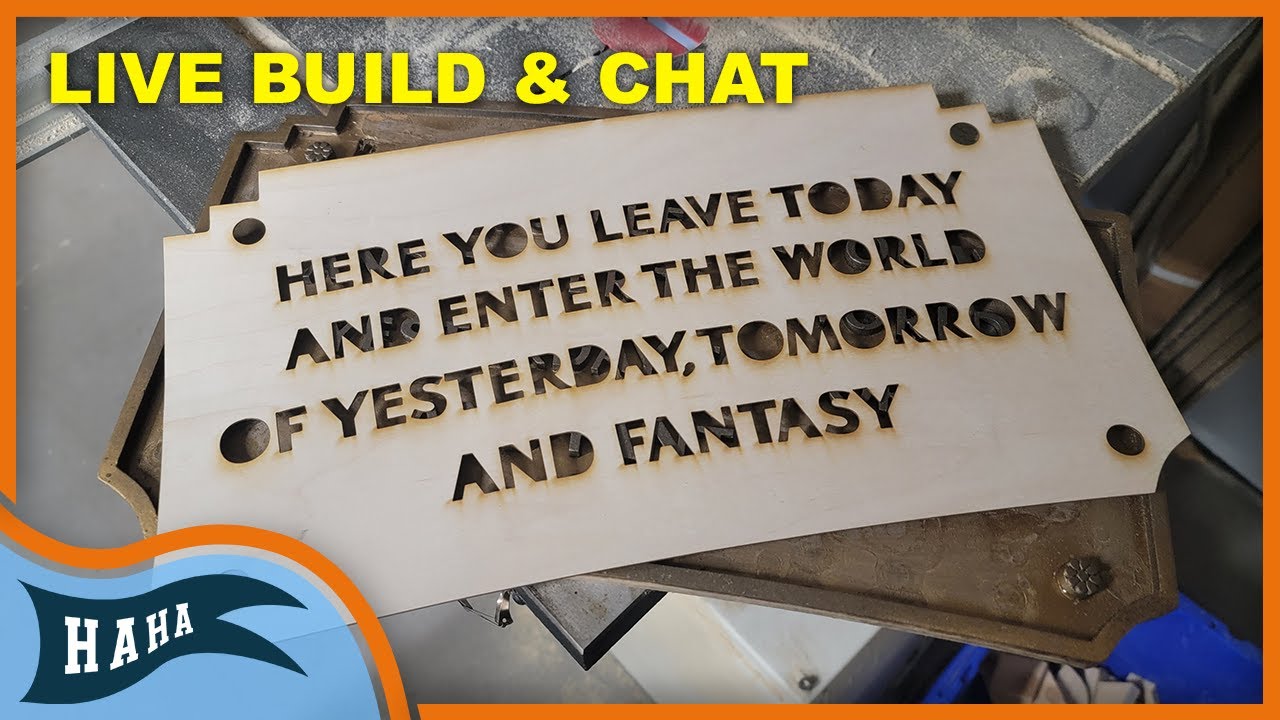
This is a video of a live build of this sign. It details the assembly instructions of all the parts for the Entryway Plaque sign. Included below are details on the spray paint colors used, tools, glue, and more.
Note: Better Solution for Applying the Center of “A” Pieces
If you watched the video above, you’ll see that I struggled with getting the small center veneer pieces that go in the center cutout areas of the letter “A” but I have come up with a better, easier solution and this will work for any letter.
Just use a small piece of tape, rolled up so all sides are sticky then flatten it and apply to the tip a pencil, needle-nose pliers, etc and then stick the painted side of a small piece of veneer onto the tape with its adhesive side facing away/down the lower it into the center of the letter. This should allow for the piece to go straight down and then push it into place, adding some pressure for a few seconds to ensure its stuck there.
The issue I was having with the method I used in the video is that the pieces kept sticking to the sides of the center cutout and flipping it over so the adhesive side was always facing up. I’ve now used the above method many times and its worked out nicely and saves so much time in building this sign.
Extra Parts
Because of how small and thin some of the veneer pieces are (ie. commas and inner bits of the letters A and R), I have given extras. As the inner bits of the letters O and D are much bigger and don’t get lost as easy, so I did not provide extras for those. However, if you are missing a parts, please contact me and I’ll see what we can do to get you what you need.
When it comes to painting these small parts, the best way is to lay down a section of packaging or painters tape, with the adhesive side up, and stick the pieces to it. It will hold them in place while you spray paint them.
Please also remember, there is adhesive on the back side of these veneer pieces.
Spray Paint
These are the same spray paints used on our fully built signs.
- Rust-Oleum Metallic Champagne Bronze
- Used for borders, letters and flower accents.
- https://www.homedepot.com/p/Rust-Oleum-Stops-Rust-11-oz-Metallic-Champagne-Bronze-Protective-Spray-Paint-313142/300472133
- Rust-Oleum Hammered Dark Bronze
- Used for main base (adhesive veneer sheet).
- https://www.homedepot.com/p/Rust-Oleum-Universal-12-oz-All-Surface-Hammered-Dark-Bronze-Spray-Paint-and-Primer-in-One-258199/202531891
- For A More Textured Look…
- If you prefer a more textured look, apply one of these first, then cover with the Hammered spray paint (lightly).
- Wall Orange Peel Texture
- Use the fine setting and do not knock down the texture after spraying.
- https://www.homedepot.com/p/Homax-20-oz-Wall-Orange-Peel-Low-Odor-Water-Based-Texture-Spray-Paint-4092-06/100154309
- Textured Autumn Brown
Suggested Glue & Tools
It’s highly suggest getting CA glue, glue accelerator, and sanding sticks. But the other tools are very useful as well.
- Starbond (CA) Glue
- Just like super glue but it a bigger better bottle.
- https://www.amazon.com/dp/B00C32MHJU/
- Akfix 705 Accelarator Spray
- Used to accelerate the drying time of (CA) super glues.
- No need to hold parts together for minutes.. spray this and you can get it done in seconds.
- https://www.amazon.com/gp/product/B07DYMJH1N/
- Detail Sanding Sticks
- Cricut 5-Piece Precision Tool Kit
- Includes a handy for spatula/putty knife for prying up masking tape, weeder/picker, scraper, a pair of scissors & a pair of tweezers.
- https://www.amazon.com/Cricut-Basic-Tool-Core-Colors/dp/B07STGLY6J/
- Needle Nose Pliers
Related Help & Info
Please check out these topics below for more help. However, if you have any further questions, feel free to contact me.